 Skip to content
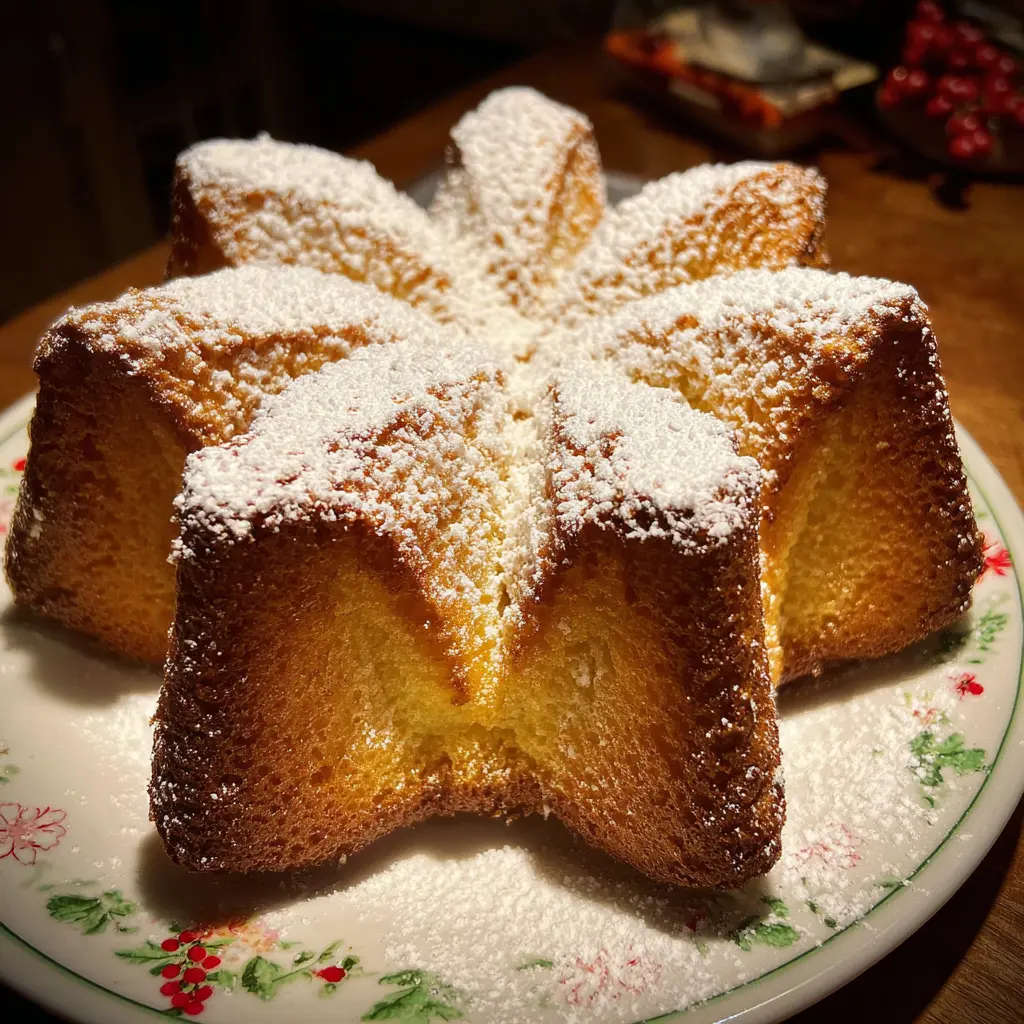
Transport your taste tastes to Italy this holiday season with a homemade Pandoro (Italian Christmas Cake). This iconic dessert, originating from Verona, is a true festive masterpiece. In 1884, Veronese confectioner Domenico Melegatti patented the modern version of Pandoro, a soft Christmas cake in the shape of an eight-pointed star.
Known for its distinct star shape and delicate vanilla aroma, Pandoro is a staple on Italian Christmas tables. Its soft, rich crumb and subtle sweetness make it an unforgettable holiday treat.
Why You’ll Love This Pandoro Recipe
- Delicate, Vanilla-Infused Flavor: Enjoy the irresistible taste of real vanilla that shines through every tender bite of this sweet Italian bread.
- Light, Airy Texture: Experience an incredibly soft, cloud-like crumb, a hallmark of a perfectly made Pandoro.
- Impressive, Festive Presentation: The classic star shape dusted with powdered sugar creates a stunning centerpiece for any holiday gathering.
- Master an Authentic Italian Tradition: Bake a beloved Christmas classic, bringing a taste of Italy right into your home with this straightforward guide.
- Perfect for Holiday Gatherings: This elegant and delicious dessert is ideal for sharing with family and friends during the festive season.
Ingredients
To bake a magnificent Pandoro (Italian Christmas Cake), you will need high-quality ingredients. This two-day process ensures optimal flavor and texture for your homemade Italian Christmas bread. Gather these items to begin your delicious baking journey.
For the Starter Dough:
- 1/4 cup plus 1 tablespoon lukewarm water
- 1/2 teaspoon active dry yeast
- 1 teaspoon granulated sugar
- 3/4 cup all-purpose flour
- 1/2 teaspoon salt
For the Main Dough:
- 1/2 cup lukewarm whole milk
- 2 1/2 teaspoons active dry yeast
- 2 3/4 cup all-purpose flour
- 1/2 cup granulated sugar
- 4 large egg yolks
- 12 tablespoons unsalted butter, softened at room temp
- 2 tablespoons honey
- 2 tablespoons vanilla bean paste
- Zest of one lemon
Notes & Substitutions
Vanilla bean paste offers a richer, more authentic flavor and visible specks compared to extract; use good quality extract if paste is unavailable. Opt for high-quality, free-range egg yolks if possible; their vibrant color naturally enhances the cake’s golden hue. Fresh active dry yeast is crucial for a strong, reliable rise. Always use the best quality ingredients you can find for superior flavor in your Italian Christmas cake.
Equipment
Having the right tools makes baking this special Pandoro (Italian Christmas Cake) a joy. These items will help you achieve the perfect texture and iconic star shape.
- Stand mixer with dough hook
- Large mixing bowls
- Plastic wrap
- 9-cup (2-liter) Pandoro mold (approximately 8-9 inches in diameter, 6-7 inches deep)
- Wire cooling rack
- Instant-read thermometer (optional but highly recommended)
Essential vs. Optional
The specialized Pandoro mold is truly essential for achieving the iconic star shape and structure of this festive cake. If you don’t have one, a 9-cup capacity Bundt cake pan or a large pound cake pan can serve as an alternative, though the shape will differ. An instant-read thermometer helps you ensure perfect doneness without over-baking.
Instructions
Baking an authentic Pandoro (Italian Christmas Cake) is a rewarding two-day process. This method ensures a deeply flavored, light, and airy cake. Follow these steps carefully for a truly wonderful result.
Day 1: Prepare the Starter Dough
- In a small bowl, combine 1/4 cup plus 1 tablespoon lukewarm water, 1/2 teaspoon active dry yeast, and 1 teaspoon sugar. Stir gently and let it sit for 10-15 minutes until it becomes frothy and bubbly, indicating the yeast is active.
- In the bowl of a stand mixer, combine 3/4 cup all-purpose flour and 1/2 teaspoon salt. Pour in the activated yeast mixture.
- Attach the dough hook and knead the ingredients on low speed until they come together into a cohesive dough. The dough will be smooth and firm, but not overly stiff.
- Remove the dough, form it into a smooth ball, and place it in a lightly greased large mixing bowl. Cover the bowl loosely with plastic wrap.
- Let the dough rise in a warm place for about 2 hours, or until it has nearly doubled in size.
- Once risen, gently punch down the dough to release the air. Reform it into a ball, place it back in the bowl, and cover it tightly with plastic wrap.
- Refrigerate the starter dough overnight for 12-14 hours. This long, cold fermentation develops deeper flavors.
- Important: The next day, remove the starter dough from the fridge 2 hours before you plan to proceed with the main dough. This allows it to come to room temperature.
Day 2: Prepare the Main Dough
- In a small bowl, combine 1/2 cup lukewarm whole milk, 2 1/2 teaspoons active dry yeast, and 1 teaspoon of the main dough’s granulated sugar. Stir and let it sit for 10-15 minutes until frothy.
- In the bowl of your stand mixer, combine 2 3/4 cup all-purpose flour and the remaining 1/2 cup granulated sugar. Add the activated milk-yeast mixture.
- Using the dough hook on low speed, mix the ingredients until just combined.
- Add the 4 large egg yolks one at a time, allowing each to fully incorporate into the dough before adding the next. Continue kneading until the mixture comes together into a rich yellow dough.
- Tear the room-temperature starter dough into small pieces and add them to the stand mixer bowl. Knead the two doughs together for about 5 minutes until well combined.
- Gradually add the 12 tablespoons of softened unsalted butter, one tablespoon at a time, allowing each piece to incorporate before adding the next. Then add the lemon zest, vanilla bean paste, and honey.
- Increase the mixer speed to medium-low and knead for about 10-15 minutes. Scrape down the sides of the bowl as needed. The dough should become very smooth, elastic, and pull away from the sides of the bowl. It should be slightly sticky but not overly so. If it’s too sticky, add a tiny bit more flour, 1 teaspoon at a time.
- Form the dough into a smooth ball. Lightly spray the mixing bowl with non-stick spray, place the dough back in, and cover loosely with plastic wrap.
- Let the dough rise in a warm place for about 3 hours, or until it has nearly tripled in size. It will be very light and airy.
- Gently punch down the risen dough to deflate it.
Molding, Final Rise & Baking
- Generously butter a 9-cup capacity Pandoro mold, ensuring you get into all the cracks and crevices. This prevents sticking.
- Add a few tablespoons of all-purpose flour to the buttered mold. Shake and rotate the mold to thoroughly coat it with flour, then tap out any excess. Again, ensure all crevices are well-floured.
- Place the punched-down dough into the prepared Pandoro mold. Gently press it in, ensuring it fills the base evenly.
- Cover the mold loosely with plastic wrap or a clean kitchen towel. Let it rise in a warm place for its final proof until the dough has risen to about an inch or so above the top of the mold. This can take 1.5 to 3 hours depending on your environment.
- In the meantime, preheat your oven to 325°F (160°C).
- Bake the Pandoro on the middle rack for 30 minutes.
- Reduce the oven temperature to 300°F (150°C) and continue baking for another 30-40 minutes.
- To ensure doneness, insert an instant-read thermometer into the center of the cake. It should reach an internal temperature of 195°F (90°C). A wooden skewer inserted into the middle should also come out clean. Be very careful not to over-bake, as this will result in a dry Pandoro.
- If the top of the Pandoro begins to brown too quickly during baking, loosely cover it with aluminum foil.
- Once baked, remove the Pandoro from the oven and let it cool in its mold on a wire rack for 15 minutes.
- Carefully invert the mold onto the wire rack and gently lift the mold off. The cake should slide out easily.
- Once the Pandoro is completely cooled, you can slice off a thin layer from the flat base to ensure it sits stably on a serving plate.
Serving
- For the classic presentation, generously dust the entire cooled Pandoro with powdered sugar just before serving.
- Serve it by cutting vertical slices from the star points.
- For a more dramatic “Christmas tree” effect, cut the Pandoro into thick horizontal slices. Rotate each slice slightly as you stack them back up to create a tiered star shape.
- Between the horizontal layers, you can add fillings like mascarpone cream, whipped cream, vanilla custard, or chocolate sauce for an elevated dessert.
Pro Tips & Troubleshooting
- Dough Consistency: If your dough feels too sticky during the main kneading stage, add all-purpose flour one teaspoon at a time until it’s smooth and elastic. Avoid adding too much, as this can lead to a dense Pandoro.
- Warm Environment: Yeast thrives in warmth. Ensure your rising environment is consistently warm and draft-free for optimal proofing and a light, airy texture.
- Avoid Over-baking: Over-baking is the quickest way to a dry Pandoro. Always use an instant-read thermometer to confirm an internal temperature of 195°F (90°C) for perfect doneness.
- Rich Yellow Color: The beautiful golden hue of a classic Pandoro comes from the egg yolks. Use high-quality, free-range eggs with dark, vibrant yolks for the best color.
- Prevent Sticking: Do not skimp on buttering and flouring your Pandoro mold. Thoroughly coat every crack and crevice to ensure easy release.
- Yeast Activity: Always ensure your yeast mixture becomes frothy before adding it to your dry ingredients. This confirms the yeast is active and will give your dough a good rise.
Serving, Storage, & Variations
This Pandoro (Italian Christmas Cake) is versatile and delightful, whether enjoyed simply or dressed up.
Serving Suggestions
- Classic: Dust generously with powdered sugar for a snowy, elegant look.
- Elevated: Serve slices alongside dollops of rich mascarpone cream, fluffy zabaglione, or silky vanilla custard.
- Dessert: Pair with fresh berries, a drizzle of warm chocolate sauce, or a scoop of your favorite ice cream.
- Beverage: It’s perfect with a morning coffee, an afternoon tea, or a glass of dessert wine.
Storage Instructions
- Store cooled Pandoro in an airtight container at room temperature. It will stay fresh and soft for up to 5-7 days.
- For longer storage, wrap individual slices or the entire cake tightly in plastic wrap, then again in aluminum foil. Freeze for up to 2-3 months. Thaw at room temperature.
Flavor Variations
- Chocolate Chip Pandoro: Fold in 1 cup of mini chocolate chips during the last few minutes of kneading the main dough.
- Citrus Boost: Enhance the citrus notes by adding orange zest along with the lemon zest.
- Almond Essence: Incorporate 1/2 teaspoon of almond extract for a subtle nutty aroma.
- Candied Fruits: While less traditional for Pandoro (more common in Panettone), you can gently fold in 1/2 cup of finely chopped candied orange peel or mixed fruit if desired.
Nutrition
Here’s an estimated nutritional breakdown for one serving of Pandoro (Italian Christmas Cake). Please note that these values are approximate and can vary based on specific ingredients and serving size.
| Nutrient | Amount Per Serving (approx.) |
|---|---|
| Calories | 420 kcal |
| Total Fat | 20g |
| Saturated Fat | 12g |
| Cholesterol | 130mg |
| Sodium | 220mg |
| Carbohydrates | 50g |
| Dietary Fiber | 2g |
| Total Sugars | 22g |
| Protein | 8g |
FAQ
- Can I make Pandoro without a special mold?
Yes, if you don’t have a star-shaped Pandoro mold, you can use a 9-cup capacity Bundt cake pan or a large pound cake pan. The shape will be different, but the delicious flavor remains. - What is the difference between Pandoro and Panettone?
Pandoro is a star-shaped, sweet, plain, and airy cake with a strong vanilla and citrus aroma, typically dusted with powdered sugar. Panettone is a round, dome-shaped cake often filled with candied fruits and raisins, and its texture is generally richer and less airy. - How long does homemade Pandoro last?
When stored in an airtight container at room temperature, homemade Pandoro stays fresh and delicious for about 5-7 days. You can also freeze it for up to 2-3 months, wrapped tightly. - Why is my Pandoro dense or dry?
A dense Pandoro often results from over-kneading, too much flour, or not allowing enough time for proper rising. A dry cake is usually due to over-baking; use a thermometer to avoid this. - Can I prepare Pandoro dough in advance?
This recipe is already designed with a two-day process, which includes refrigerating the starter dough overnight. This is the recommended way to prepare your Pandoro dough in advance for optimal results.
Conclusion
Baking your own authentic Pandoro (Italian Christmas Cake) is a truly special way to celebrate the holiday season. Its delicate vanilla flavor, light texture, and iconic star shape make it a show-stopping dessert that embodies festive joy. Don’t be intimidated by the two-day process; the steps are simple, and the reward is immense. Share this homemade Italian Christmas bread with your loved ones and create cherished holiday memories around a table filled with delicious traditions.


