Skip to content
 There’s nothing quite like biting into a perfectly crispy, incredibly juicy chicken tender. We all crave that satisfying crunch without the fuss or unhealthiness of deep frying. If you’ve been searching for the ultimate recipe for baked chicken tenders that delivers on both flavor and texture, your quest ends here. I promise you a simple yet ingenious method that will transform your kitchen into your favorite take-out spot. In this article, you will discover how to achieve restaurant-quality crispy tenders, master a straightforward recipe, and gain practical advice for every step from prep to storage. Get ready to bake up a batch of chicken tenders that will become a family favorite.
Why You’ll Love This Recipe
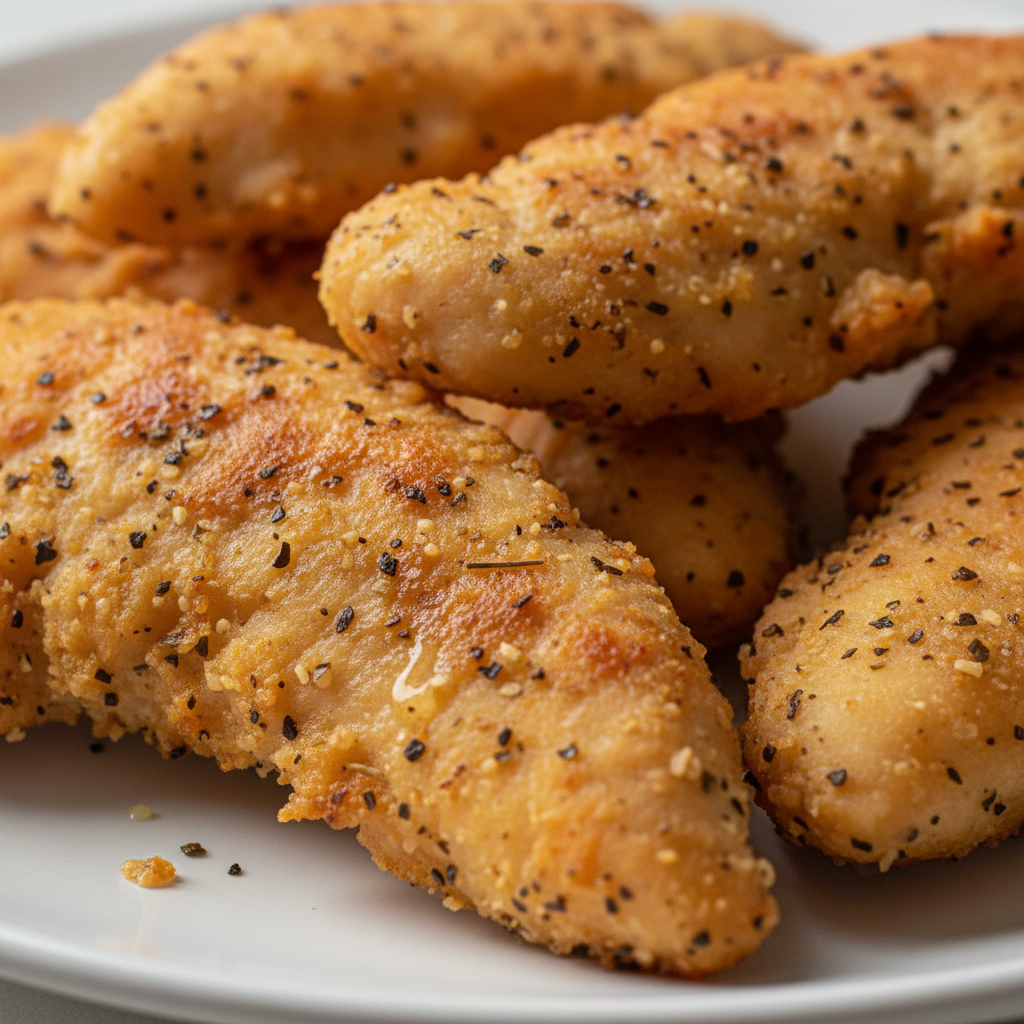
I know what you’re thinking: “Can baked chicken tenders really be crispy?” Absolutely! My secret weapon is a unique twist that guarantees a golden brown, shatteringly crisp exterior every single time, while keeping the inside wonderfully juicy. After marinating, I lightly dredge the chicken tenders in 1/2 teaspoon of baking powder mixed with a pinch of salt before baking, then finish with a quick broil. This simple trick is a game-changer.
Here’s the science behind it: baking powder subtly raises the pH on the surface of the chicken. This creates an environment where the Maillard reaction that magical process responsible for browning and delicious savory flavors happens faster and more intensely. The result is a noticeably crispier skin without heavy breading. The initial bake cooks the chicken through, locking in all the moisture, and then a final brief broil at high heat adds that perfect golden brown crispiness, preventing any sogginess. This method ensures incredible texture every time, with juicy, moist, tender interiors and a truly crispy exterior that you’ll adore.
Beyond the amazing texture, this recipe offers so many benefits. It’s a healthier alternative to fried versions, making it a healthy dinner option you can feel good about. It’s also incredibly easy and fast, perfect for busy weeknights when you need a delicious meal on the table quickly. This method is so reliable, you’ll get consistent, perfect results every time, making it a true family favorite. This recipe is also naturally gluten-free and can easily fit into low-carb and keto meal plans.
Ingredients Needed

- 1 pound chicken breast tenders (about 8-10)
- 2 tablespoons avocado oil (or your favorite cooking oil)
- 2 tablespoons tamari
- 1 teaspoon garlic powder
- 1 teaspoon Italian seasoning
- 1/4 teaspoon black pepper
Ingredient Notes & Substitutions
Chicken tenderloins are ideal for this recipe because they are naturally tender and cook quickly. However, you can certainly use chicken breast and slice it into strips of similar size if you prefer.
I recommend avocado oil for its neutral flavor and high smoke point, which is excellent for baking at higher temperatures. You can substitute with olive oil or another vegetable oil, but keep in mind their flavor profiles and smoke points might differ slightly.
Tamari is a gluten-free soy sauce alternative that I love for its rich, umami flavor. If you don’t have tamari or don’t need a gluten-free option, low-sodium soy sauce makes a fine substitute. Just be aware of the slight flavor difference.
My go-to seasoning blend includes garlic powder, Italian seasoning, and black pepper, but feel free to customize! Thyme, marjoram, paprika, or onion powder are all wonderful additions. This recipe is also naturally gluten-free and can easily fit into low-carb and keto meal plans.

How to Make Crispy Baked Chicken Tenders
Step 1: Prepare the Oven and Marinate the Chicken
First, preheat your oven to 350F (175C). While the oven heats, set aside a rimmed baking sheet. You won’t need to prep the baking sheet with oil or parchment paper just yet, as the tenders will have enough oil from the marinade to prevent sticking. In a medium bowl, combine your chicken tenders with the avocado oil, tamari, garlic powder, Italian seasoning, and black pepper. Stir everything together until the chicken is well coated. Let it sit in this aromatic marinade while your oven preheats; this short marinating time helps the chicken absorb the delicious flavors.
Step 2: The Secret to Crispiness: Baking Powder Dredge
Now for our unique twist! After the chicken has marinated, in a small bowl, mix 1/2 teaspoon of baking powder with a pinch of salt. Lightly dredge each marinated chicken tender in this mixture, ensuring a thin, even coating. This small step is crucial for achieving that superior golden brown crispiness without traditional breading.
Step 3: Tendon Removal (Optional but Recommended)
If you’re using chicken tenderloins, you might notice a tough, white tendon running through them. While optional, removing this tendon makes for a much more pleasant eating experience, avoiding that chewy “white bit.” To remove it, hold one end of the tendon firmly with a paper towel. With your other hand, use a fork to gently scrape down the chicken, pulling the tendon out. It should slide right out.
Step 4: Bake to Perfection
Arrange the baking powder-dredged chicken tenders in a single layer on your rimmed baking sheet. It’s important not to overcrowd the pan, as this allows for better air circulation and even cooking. Place the baking sheet in your preheated oven and bake for 15 minutes. For ultimate accuracy and to avoid overcooking, use an instant-read meat thermometer inserted into the thickest part of a tender; it should read 165F (74C). If you’ve removed the tendon and the tenders are thinner, they might finish cooking a little before the 15-minute mark, so keep an eye on them.
Step 5: The Broil for Golden Crispiness
Once the chicken has reached 165F (74C), remove the baking sheet from the oven. Now, move your oven rack closer to the broiler element and switch your oven to broil. Return the baking sheet to the oven and broil for 2-4 minutes, watching very carefully, until the tenders are beautifully golden brown and sizzling. This quick broil creates that irresistible crispy exterior. Once done, remove from the oven and let rest for a couple of minutes before serving.
For even better air circulation and crispier results, you can place the tenders on a wire rack set inside a rimmed baking sheet during both the baking and broiling steps.
Serving Savvy: Dipping Sauces & Perfect Pairings
Irresistible Dipping Sauces
No plate of baked chicken tenders is complete without a delicious dipping sauce! While you can always reach for your favorite, I love to offer a variety. Try a classic homemade honey mustard for its sweet and tangy kick, or a smoky, tangy BBQ sauce. For something creamy, a homemade ranch dressing is always a winner. If you like a little heat, a spicy sriracha mayo or a rich, garlicky aioli can really elevate the experience. Each sauce brings its own unique flavor profile, making every bite exciting.
Complementary Side Dishes
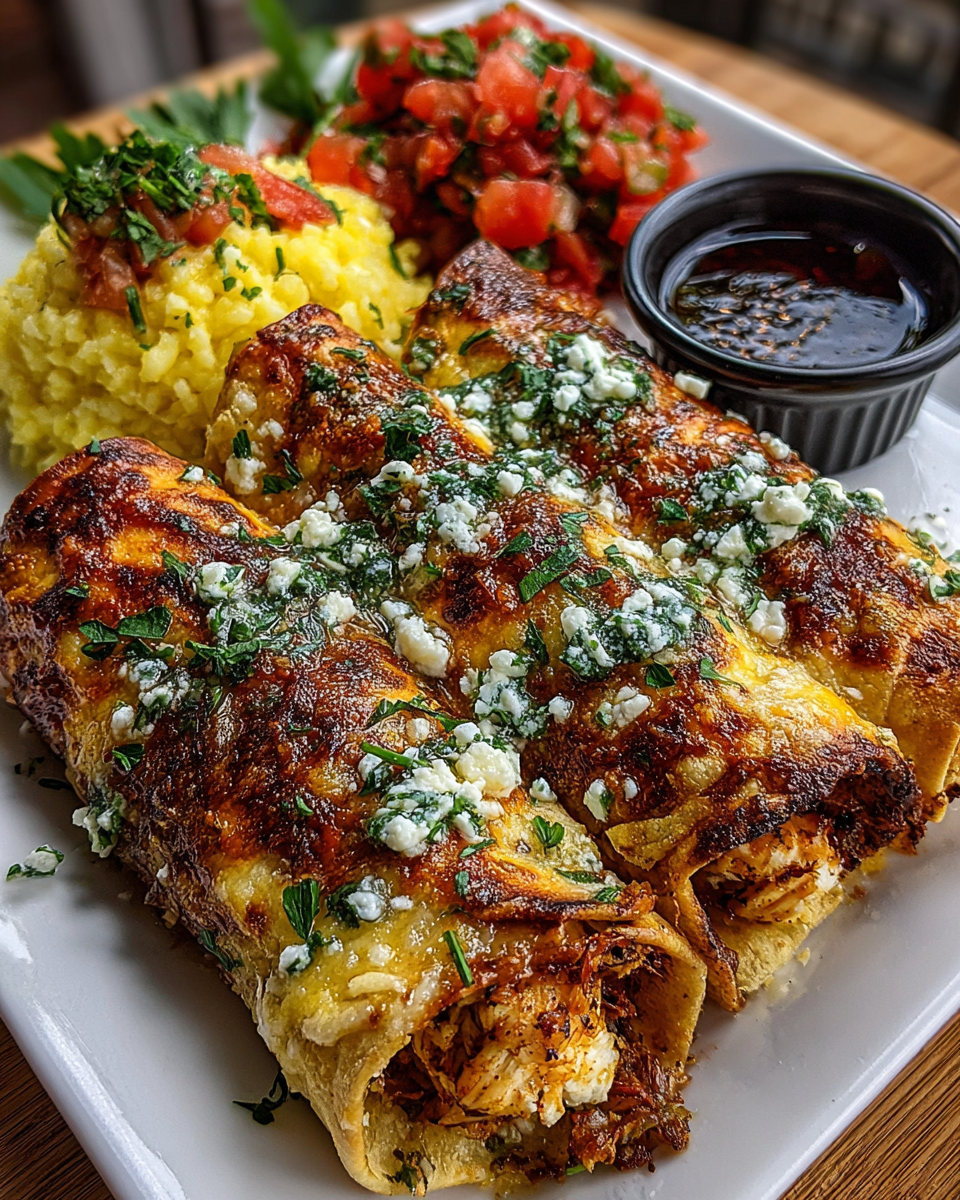
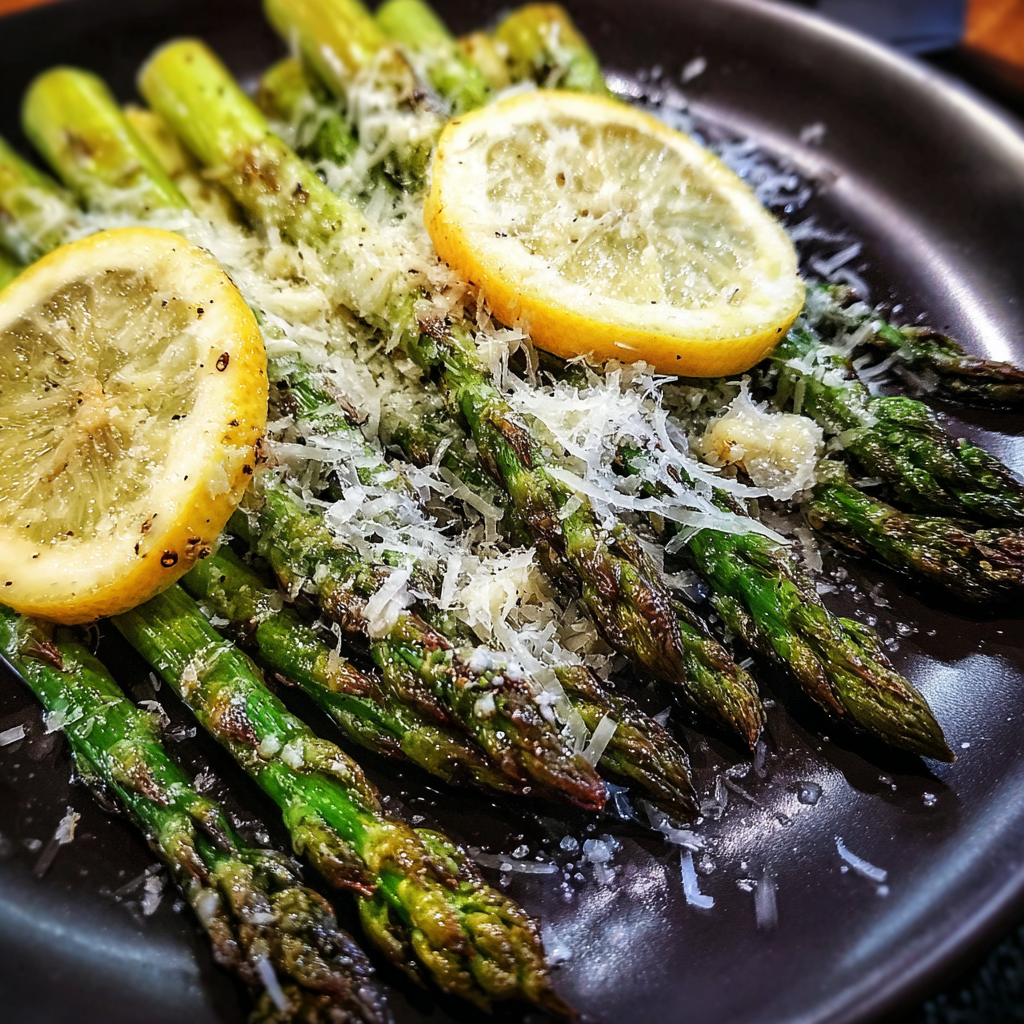
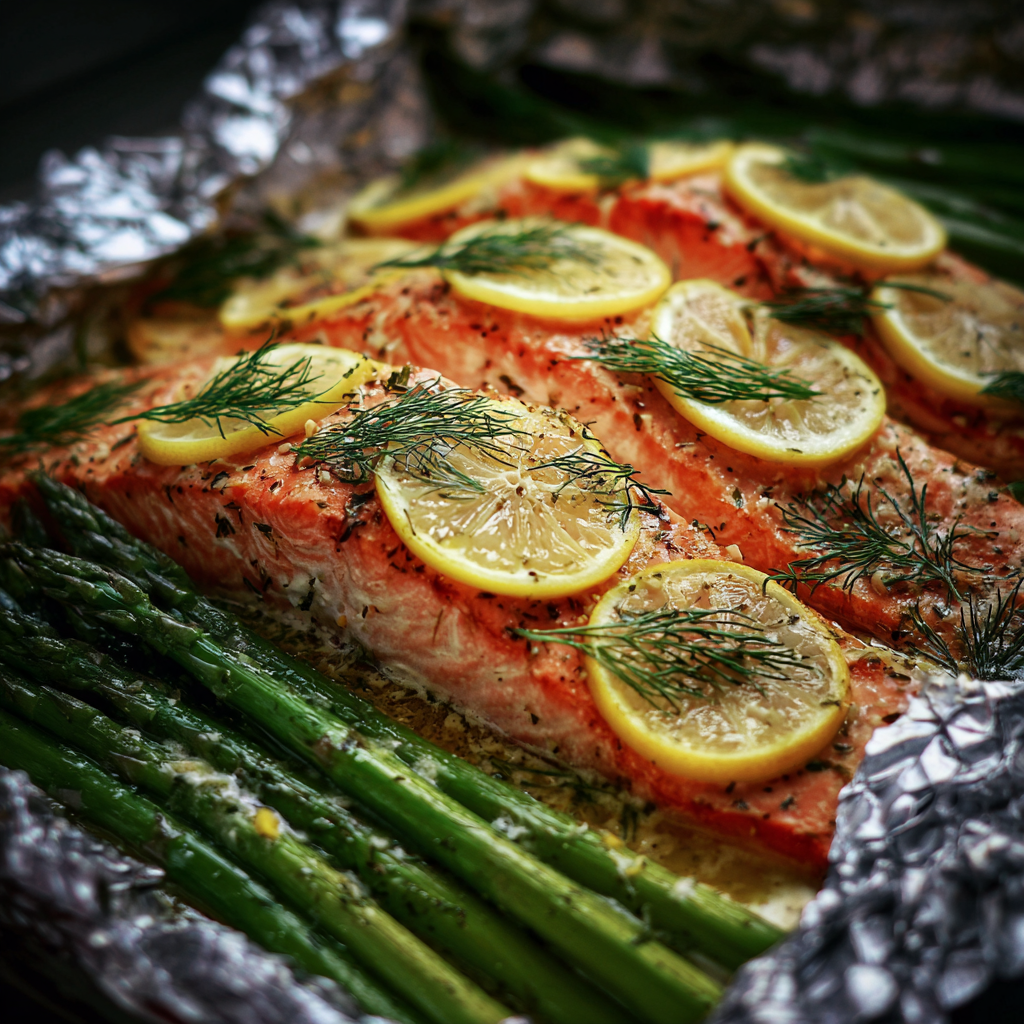
To make your baked chicken tenders a complete and satisfying meal, pair them with some delicious side dishes. For a healthy dinner, a fresh green salad with a light vinaigrette or some roasted vegetables like broccoli or asparagus are perfect choices. If you’re looking for low-carb or keto-friendly options, mashed cauliflower is a fantastic substitute for mashed potatoes. Of course, you can’t go wrong with classic family favorites like crispy potato wedges or a creamy mac & cheese. The goal is to create a balanced meal that everyone at your table will love.
Smart Storage & Meal Prep Strategies
Optimal Storage for Leftovers
If you happen to have any leftover chicken tenders (a rare occurrence in my house!), it’s important to store them properly. Once completely cooled, place your leftover chicken tenders in an airtight container and store them in the refrigerator for up to 4 days. This ensures they stay fresh and safe to eat.
Reheating to Maintain Crispiness
Reheating can sometimes be tricky, especially when you want to preserve that crispy texture. Here’s how I do it:
- Oven Reheat: This is my preferred method for maintaining crispiness. Preheat your oven to a low temperature, around 300F (150C). Spread the tenders in a single layer on a baking sheet, ideally lined with parchment paper or on a wire rack. Reheat for 10-15 minutes, or until warmed through, keeping an eye on them to prevent drying out.
- Air Fryer Reheat: For a super quick and efficient way to regain crispiness, the air fryer is fantastic. Place the tenders in a single layer in your air fryer basket and reheat at 350F (175C) for 3-5 minutes, shaking the basket halfway through.
- Microwave: While the microwave is fast, it will sacrifice the crispy texture, making the tenders softer. It’s best if speed is your priority and crispiness isn’t a concern. Reheat in short bursts until warmed through.
Freezing for Future Meals
These baked chicken tenders are excellent for meal prep and freezing!
- Freezing Cooked Tenders: Once cooked, allow the tenders to cool completely. Arrange them in a single layer on a sheet pan and flash-freeze for about 1-2 hours until solid. Then, transfer them to freezer-safe bags or an airtight container. They will keep well for up to 3 months.
- Freezing Uncooked Tenders: You can also marinate the tenders and then flash-freeze them uncooked. Lay the marinated tenders on a sheet pan and freeze until solid, then transfer to freezer bags. This is perfect for future meal prep.
- Thawing Instructions: Always thaw frozen chicken tenders (cooked or uncooked) in the refrigerator overnight before reheating or cooking.
Meal Prepping Large Batches
This recipe is perfect for meal prepping! I often double the recipe to ensure I have plenty of cooked chicken tenders for the week. Once cooled, portion them into individual grab-and-go containers with your favorite side dishes for healthy and convenient busy weeknight meals. Having them ready to go saves so much time during the week.
Pro Tips & Troubleshooting
Pro Tips for Perfect Baked Tenders
- Don’t Skip the Tendon Removal: If your chicken tenderloins have a tendon, take the extra minute to remove it. It makes a huge difference in the eating experience.
- Always Check the Temperature: An instant-read meat thermometer is your best friend. Always aim for an internal temperature of 165F (74C) to ensure your chicken is perfectly cooked and juicy, never overcooked.
- Embrace the Baking Powder & Broil: This is the game-changer! The baking powder dredge and the final broil are essential for that golden brown, crispy surface.
- Optimal Pan Choice: A heavy-duty baking sheet, especially one with a wire rack on top, promotes excellent air circulation around the tenders, contributing to a crispier result.
- Don’t Overcrowd the Pan: Give your tenders space! Arranging them in a single layer on the baking sheet is crucial for even cooking and proper browning. Overcrowding will steam them instead of crisping.
- Marinating Time Matters: Even a short marinating time, like while the oven preheats, infuses the chicken with flavor and helps keep it moist.
Common Mistakes to Avoid
- Overcooking: This is the number one culprit for dry, tough chicken. Always use your meat thermometer to hit that 165F (74C) mark and then remove them from the heat.
- Pale Tenders: If your tenders aren’t getting crispy and golden, you might have skipped the baking powder dredge, didn’t broil them at the end, or your oven temperature was too low. The Maillard reaction needs a little help to work its magic.
- Sticking: If your tenders are sticking to the pan, ensure you’ve used enough oil in your marinade. Using parchment paper or a well-seasoned baking sheet can also help prevent this.
- Ignoring Tendon Removal: That tough, chewy ‘white bit’ from the tendon can be quite unpleasant. Taking a moment to remove it makes for a much better bite.
- Relying on Visual Cues Alone: While a golden brown exterior is desirable, it doesn’t always guarantee doneness. Always use an instant-read meat thermometer for safety and quality.
Conclusion
There you have it: a foolproof method for achieving the most juicy, flavorful, and crispy baked chicken tenders right in your own kitchen. My unique baking powder trick combined with a quick broil ensures restaurant-quality results every single time, without the need for deep frying. This recipe is incredibly beginner-friendly and guarantees success, making it perfect for both seasoned cooks and kitchen novices alike.
I encourage you to try this recipe tonight and experience the magic for yourself. Don’t be afraid to experiment with different seasoning blends to find your perfect flavor combination, and definitely explore the wide array of dipping sauces and side dishes to create a truly memorable meal. Whether for a busy weeknight or a weekend treat, these healthy dinner baked chicken tenders are sure to become a cherished part of your family’s meal rotation. Print this recipe, share it with your friends, and discover more delicious recipes right here on my blog!
FAQ
What is the ideal internal temperature for perfectly baked chicken tenders?
– The ideal internal temperature for perfectly baked chicken tenders is 165F (74C). Always use an instant-read meat thermometer inserted into the thickest part of the chicken to ensure accurate doneness and prevent overcooking.
How do I remove the tough tendon from chicken tenderloins easily?
– To easily remove the tendon, hold one end of the tendon firmly with a paper towel. With your other hand, use a fork to scrape down the chicken against the tendon. It should slide right out, leaving you with a smooth tenderloin.
What are the best tips to prevent baked chicken tenders from drying out?
– The best tips to prevent dry chicken tenders are to avoid overcooking by using an instant-read meat thermometer, and allowing them to marinate, which helps lock in moisture and flavor.
Can I substitute regular soy sauce for Tamari in this recipe?
– Yes, you can substitute low-sodium soy sauce for tamari in this recipe. Just remember that tamari is gluten-free, so if you need a gluten-free option, stick with tamari. The flavor profile will be very similar.
What are some recommended dipping sauces and side dishes for baked chicken tenders?
– For dipping sauces, popular choices include homemade honey mustard, tangy BBQ sauce, or creamy ranch. Great side dishes include a fresh green salad, roasted vegetables, or crispy potato wedges.
How should I store and reheat leftover baked chicken tenders to maintain quality?
– Store leftover baked chicken tenders in an airtight container in the refrigerator for up to 4 days. To reheat and maintain crispiness, use an oven at 300F (150C) for 10-15 minutes, or an air fryer at 350F (175C) for 3-5 minutes. Microwaving will sacrifice crispiness.
Why are my chicken tenders not getting crispy in the oven?
– Your chicken tenders might not be getting crispy if you skipped the baking powder dredge, didn’t use the final broil step, or your oven temperature was too low. Using a wire rack on a baking sheet can also enhance crispiness by allowing better air circulation.
Do I need to bread chicken tenders to bake them?
– No, you do not need to traditionally bread chicken tenders to bake them. This recipe achieves a crispy exterior without breading, thanks to the baking powder dredge and a quick broil at the end.
What kind of oil should I use for baking chicken tenders?
– I recommend avocado oil for baking chicken tenders due to its neutral flavor and high smoke point. Olive oil or other vegetable oils can also be used, but consider their flavor contribution and how their smoke points compare to avocado oil.
Crispy Baked Chicken Tenders: Your Go-To Recipe for Juicy Perfection
Ingredients
Equipment
Method
- Preheat your oven to 350F (175C). In a medium bowl, combine the chicken tenders with avocado oil, tamari, garlic powder, Italian seasoning, and black pepper. Stir until the chicken is well coated. Let it marinate while the oven preheats.
- In a small bowl, mix 1/2 teaspoon of baking powder with a pinch of salt. Lightly dredge each marinated chicken tender in this mixture, ensuring a thin, even coating.
- If using chicken tenderloins, hold one end of any tough white tendon firmly with a paper towel. With your other hand, use a fork to gently scrape down the chicken, pulling the tendon out. It should slide right out.
- Arrange the baking powder-dredged chicken tenders in a single layer on a rimmed baking sheet. Ensure the pan is not overcrowded for even cooking. Bake for 15 minutes in the preheated oven. Use an instant-read meat thermometer to ensure the thickest part of a tender reaches 165F (74C).
- Once the chicken reaches 165F (74C), remove the baking sheet from the oven. Move your oven rack closer to the broiler element and switch your oven to broil. Return the baking sheet to the oven and broil for 2-4 minutes, watching very carefully, until the tenders are beautifully golden brown and sizzling. Remove from the oven and let rest for a couple of minutes before serving.