Skip to content
 There’s nothing quite like a perfectly cooked piece of chicken: crisp on the outside, bursting with a symphony of spices, and unbelievably juicy within. If you’ve ever dreamt of recreating that restaurant-quality Blackened Chicken at home, but worried about dry results or a smoky kitchen, then you’ve come to the right place. I’m going to share my secret method for achieving tender, flavorful blackened chicken every single time. This recipe is straightforward enough for a quick weeknight dinner, yet comprehensive enough to teach you the true art of the blackening technique, promising incredible flavor and a perfectly moist interior.
Why You’ll Love This Blackened Chicken Recipe
My kitchen has seen countless experiments, and this blackened chicken recipe is truly a standout because of its unique twist. The secret lies in two simple steps: a buttermilk marinade and a clever sear-then-finish cooking method. The buttermilk, with its mild acidity, works wonders to tenderize the chicken and lock in moisture, ensuring that every bite is incredibly juicy and tender. Then, a quick sear in a hot skillet creates that iconic dark, flavorful crust through the Maillard reaction. Finally, finishing it briefly in the oven or covered in the skillet with a splash of broth ensures the chicken cooks through gently and evenly, preventing any dryness while keeping it perfectly succulent. This steamy environment is crucial for tender results.
The result? You get unrivaled juiciness and tenderness, directly addressing the common problem of dry chicken. Each piece boasts an explosion of flavor from the bold Cajun seasoning and that perfectly seared, smoky, and spicy crust. This is truly a quick and easy weeknight meal, delivering restaurant-quality at home without the fuss. It’s an easy dinner, a quick recipe, and can even be a one-skillet meal!
Ingredients Needed

Here are the ingredients you’ll need to make this incredible blackened chicken:
- 1/2 tablespoon smoked paprika
- 1/2 teaspoon cayenne pepper (this is the hot one, so you can tame it back if need be)
- 1/2 teaspoon dried thyme
- 1/2 teaspoon garlic powder
- 1/2 teaspoon onion powder
- 1/2 teaspoon fresh ground black pepper
- 1/4 teaspoon dried oregano
- 1/4 teaspoon salt
- 2 large boneless skinless chicken breasts sliced in half lengthwise
- 3 tablespoons canola oil
Ingredient Notes & Substitutions
Buttermilk: This is a crucial ingredient for our unique twist. Its mild acidity tenderizes the chicken, contributing significantly to its moisture without imparting a strong flavor. If you don’t have buttermilk, you can easily make your own by adding a tablespoon of lemon juice or white vinegar to regular milk, letting it sit for 5-10 minutes until it slightly curdles. For a dairy-free option, use a plant-based milk (like almond or soy) with a similar amount of acid.
Blackening Seasoning Blend: Our homemade spice blend uses smoked paprika, cayenne pepper, dried thyme, garlic powder, onion powder, black pepper, dried oregano, and salt. This combination creates a bold, authentic Cajun flavor. You can easily adjust the spice level by increasing or decreasing the amount of cayenne pepper. For a quick alternative, a good quality store-bought Cajun seasoning can be used, just be sure to check for gluten-free options if needed.
Chicken: I specify boneless skinless chicken breasts for this recipe. Slicing them lengthwise, or butterflying them, ensures a more even thickness, which promotes consistent cooking. You can also pound them slightly. While chicken breasts are my go-to, chicken thighs or chicken tenders can also be adapted for this recipe with slight adjustments to cooking times, which I’ll cover later.
Cooking Oil: Canola oil is specified here because of its high smoke point, which is essential for high heat cooking and achieving that perfect sear without burning the oil. Other suitable high smoke point cooking oil alternatives include avocado oil or vegetable oil.

How to Make Blackened Chicken
Let’s get cooking! Follow these steps for perfectly juicy and flavorful blackened chicken.
Step 1: Marinate for Tenderness (The Secret Twist)
To begin, place your boneless skinless chicken breasts in a bowl and pour in enough buttermilk to cover them. Let the chicken marinate for at least 30 minutes. This initial buttermilk marinade is my secret weapon for creating ultra-juicy and tender chicken, making all the difference in the final texture.
Step 2: Prepare Your Seasoning Blend
In a Ziploc bag, combine the smoked paprika, cayenne pepper, dried thyme, garlic powder, onion powder, black pepper, oregano, and salt. Zip the bag shut and shake it well to thoroughly combine all the spices. Using a Ziploc sandwich bag for this step makes for easy cleanup!
Step 3: Prep the Chicken for Perfect Searing
After marinating, remove the chicken breasts from the buttermilk and thoroughly pat them dry with paper towels. This step is crucial because drying the chicken helps achieve that crisp, dark crust rather than steaming the chicken. For more even cooking, let your chicken breasts come to room temperature for about 30 minutes before you start cooking. Next, lightly brush both sides of each chicken breast with oil or spray them with baking spray, ensuring they are evenly coated with a thin layer of oil. Then, use your hands to spread the prepared seasoning blend evenly over the chicken, making sure each piece is fully coated in the dark, vibrant spice blend.
Step 4: Achieve the Signature Blackened Crust
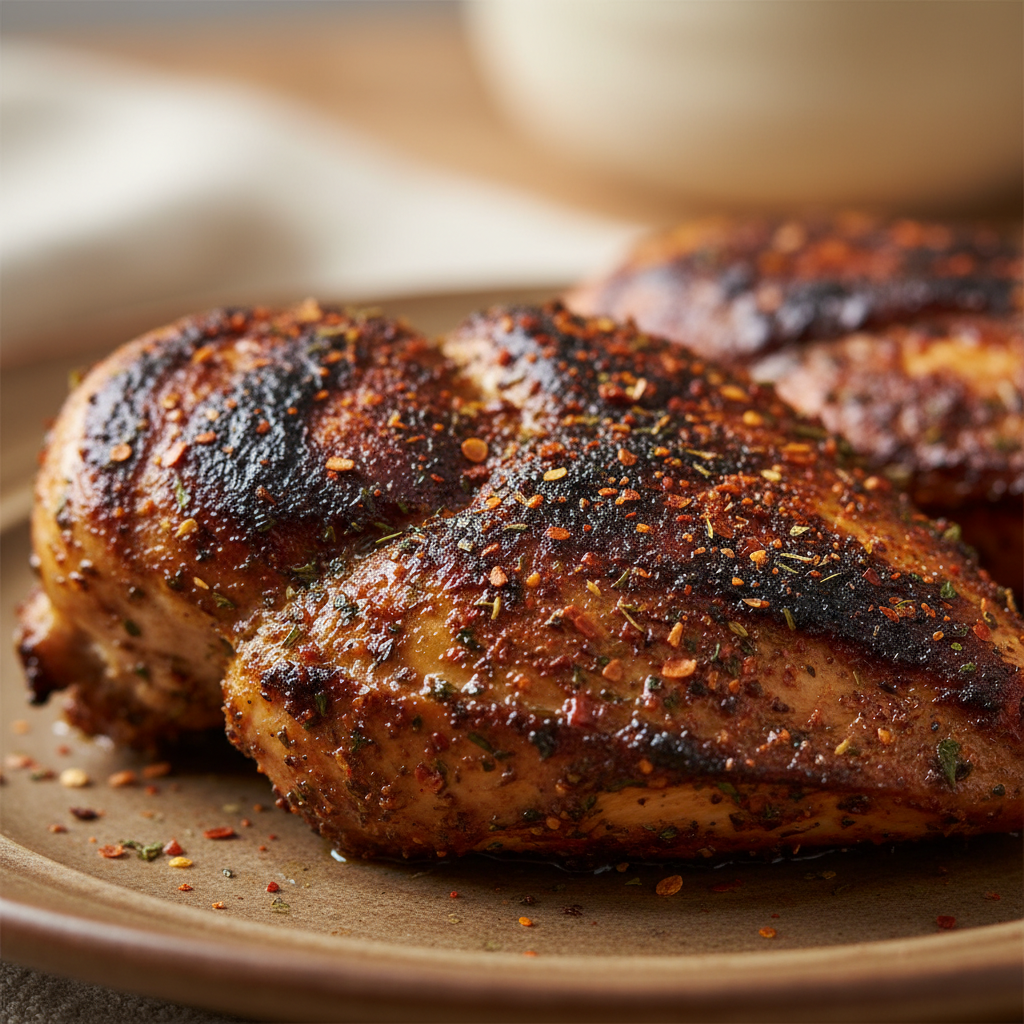
Heat one tablespoon of canola oil in a nonstick skillet over medium-high heat until it is just beginning to smoke. High heat cooking is absolutely essential for searing and creating that desirable Maillard reaction, which gives blackened chicken its signature golden brown (almost black) crust. Carefully place the seasoned chicken in the hot pan. Cook each side for approximately 5 minutes, until it develops that deep golden brown, almost black crust. Listen for the satisfying sizzle and watch that beautiful crust develop!
Step 5: Finish Cooking for Juiciness (Unique Twist Part 2)
Once both sides are beautifully seared, remove the chicken from the skillet. To ensure the chicken cooks through gently without drying out, you have a couple of options: either transfer the skillet to a hot oven to finish cooking, or if you prefer to stay on the stovetop, cover the skillet with a lid and add a splash of chicken broth. This creates a steamy environment that helps the chicken reach its internal temperature while staying incredibly moist.
Step 6: The Essential Rest
After cooking, transfer the chicken to a cutting board, cover it loosely with an aluminum foil tent, and let it rest for 10 minutes. Resting meat is a critical step to retain juices, ensuring your blackened chicken remains incredibly juicy instead of drying out. Don’t skip this!
Gap-Filling Sections: Master Your Blackened Chicken
To truly master this technique, let’s dive deeper into some common questions and essential tips.
Understanding the Blackening Technique & Managing Smoke
What Does ‘Blackened’ Truly Mean? Blackening is a cooking technique that originated in Cajun and Creole cuisine, most famously popularized by Chef Paul Prudhomme. It’s about creating an intense, dark, flavorful crust on food through high heat cooking and a generous coating of a special spice blend. It’s important to understand that “blackened” means deeply browned and caramelized, not burnt. The science behind this delicious crust is the Maillard reaction, a chemical process that creates rich, complex flavors and aromas when sugars and amino acids in food are exposed to high heat.
Choosing the Right Oil & Pan: For high heat cooking like blackening, selecting the right oil is crucial. Oils with a high smoke point, such as canola oil, avocado oil, or vegetable oil, are ideal because they can withstand the intense heat without breaking down and smoking excessively or imparting bitter flavors. While a cast-iron skillet is traditionally favored for its excellent heat retention, a good quality nonstick skillet works very effectively for blackened chicken, as used in this recipe, especially for home cooks who might not have a cast iron. My recipe shows you how to make blackened chicken without a cast iron skillet, proving it’s achievable for everyone.
Keeping Smoke at Bay: One common concern with blackening is the smoke. While some smoke is natural for this high-heat technique, you can manage excessive smoke in your kitchen. First, ensure good ventilation by turning on your exhaust fan and opening a window. Use only the necessary amount of cooking oil to coat the pan—too much can lead to more smoke. Make sure your pan is hot, but not so hot that the oil is violently smoking before you add the chicken. If you notice too much smoke, slightly reduce the heat.
Achieving Perfect Doneness & Exploring Cooking Methods
Knowing When It’s Done: For food safety and the best texture, always ensure your chicken is cooked to the correct internal temperature. The safe internal temperature for chicken doneness is 165°F (74°C). Use a meat thermometer inserted into the thickest part of the chicken breast, avoiding any bone, for an accurate reading. Our unique twist, with its oven or covered skillet finish, helps you achieve this temperature while maintaining maximum juiciness.
Adapting for Different Cuts: This recipe is versatile! While I use boneless skinless chicken breasts, you can certainly use other chicken cuts. Chicken thighs, with their higher fat content, tend to stay very moist and might require slightly longer cooking times, around 6-8 minutes per side, then finishing in the oven or covered. Chicken tenders, being smaller, will cook much faster, typically 3-4 minutes per side. Always adjust cooking times and check the internal temperature for each cut.
Beyond the Skillet: While pan-searing is classic, you have alternative cooking methods for blackened chicken. For grilling chicken, preheat your grill to high heat, oil the grates, and cook for similar times as pan-searing, ensuring a good crust and checking internal temperature. For air fryer chicken, coat the seasoned chicken with a little extra oil, then cook in a preheated air fryer at around 375°F (190°C) for 10-15 minutes, flipping halfway, until crispy and cooked through. You can also achieve a blackened crust by baking chicken and finishing it under a broiler for a few minutes.
Pro Tips & Troubleshooting
Here are my top tips and common mistakes to avoid for perfect blackened chicken every time.
Pro Tips for the Best Blackened Chicken
Embrace the Buttermilk: Remember, the buttermilk marinade is your secret weapon for the juiciest, most tender chicken. Don’t skip it!
Room Temperature Rule: Let chicken breasts come to room temperature for about 30 minutes before cooking for more even results.
Dry for a Crisp: Emphasize patting the chicken extremely dry after marinating. This is crucial to ensure a crisp, dark crust and prevent steaming.
Master the Heat: Preheat your pan until the oil begins to smoke to ensure proper searing and blackening. High heat cooking is key, but avoid scorching.
Don’t Overcrowd: If you’re cooking more than two breasts, cook in batches. Overcrowding the pan will lower the temperature and prevent proper blackening.
Resting is Non-Negotiable: After cooking, cover the chicken loosely with aluminum foil and let it rest for 10-15 minutes to retain juices. This is crucial for preventing dry chicken.
Spice Blend Perfection: Use a Ziploc sandwich bag to mix your spices for easy cleanup. And remember, you can adjust the cayenne pepper quantity for your desired spice level – less for mild, more for hot.
Common Mistakes to Avoid
Cooking Cold Chicken: Not allowing chicken to come to room temperature can lead to uneven cooking, with the outside cooking faster than the inside.
Insufficient Pan Heat: Insufficiently preheating the pan prevents proper searing and crust development, leading to a less flavorful, less “blackened” result.
Skipping the Rest: Skipping the resting period after cooking is a common mistake that results in dry chicken, as all the delicious juices will run out when you cut into it.
Overcooking is the Enemy: Overcooking chicken breasts, even slightly, can quickly lead to a dry and tough texture. Always use a meat thermometer to check for an internal temperature of 165°F.
Excessive Smoke & Burning: Cooking at excessively high heat can cause burning and too much smoke. Refer back to choosing the right oil and ensuring good ventilation.
Wet Chicken: Not patting chicken dry enough after marinating leads to steaming instead of searing, preventing that beautiful crust from forming.
Serving & Storage
Serving Ideas
Blackened chicken is incredibly versatile! Here are some of my favorite ways to enjoy it:
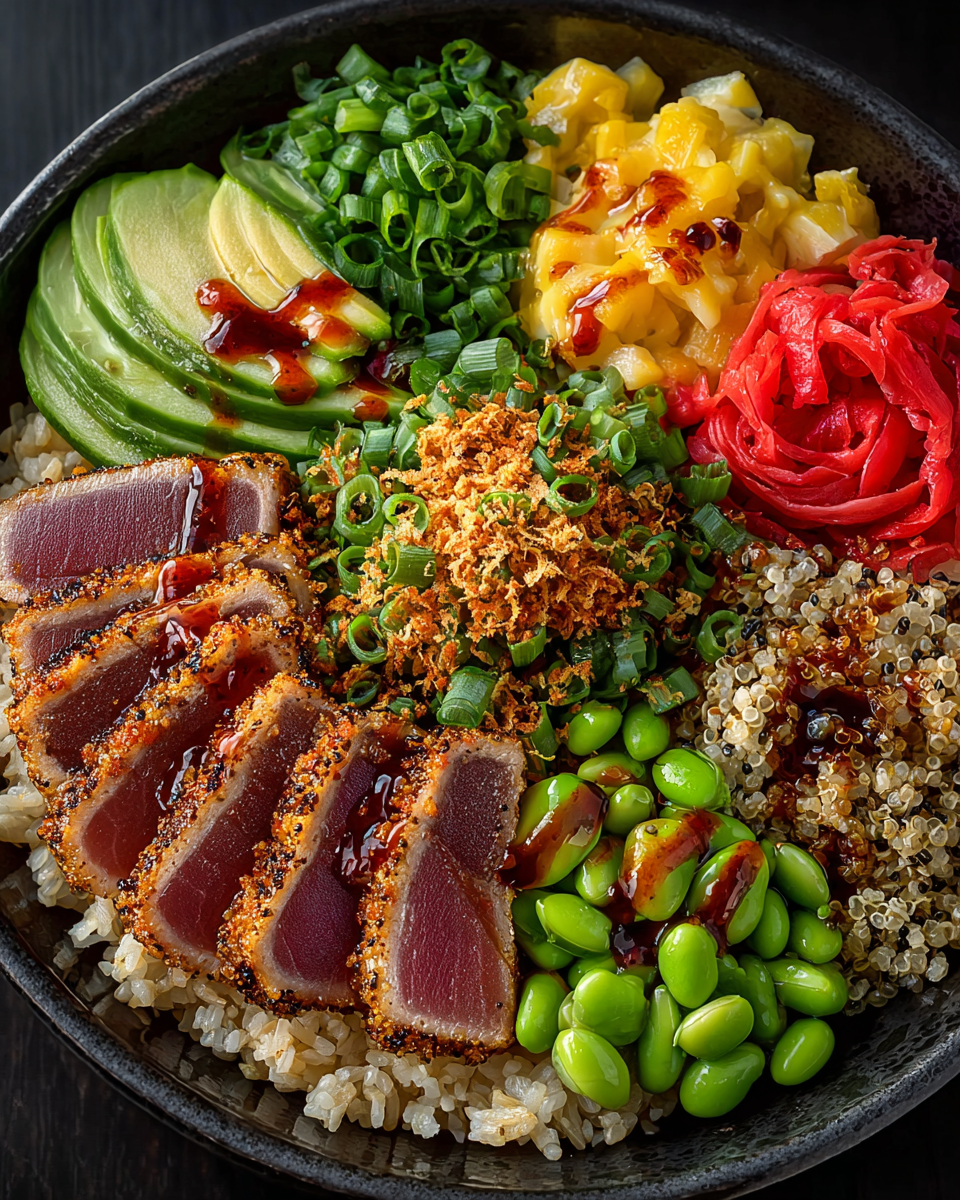
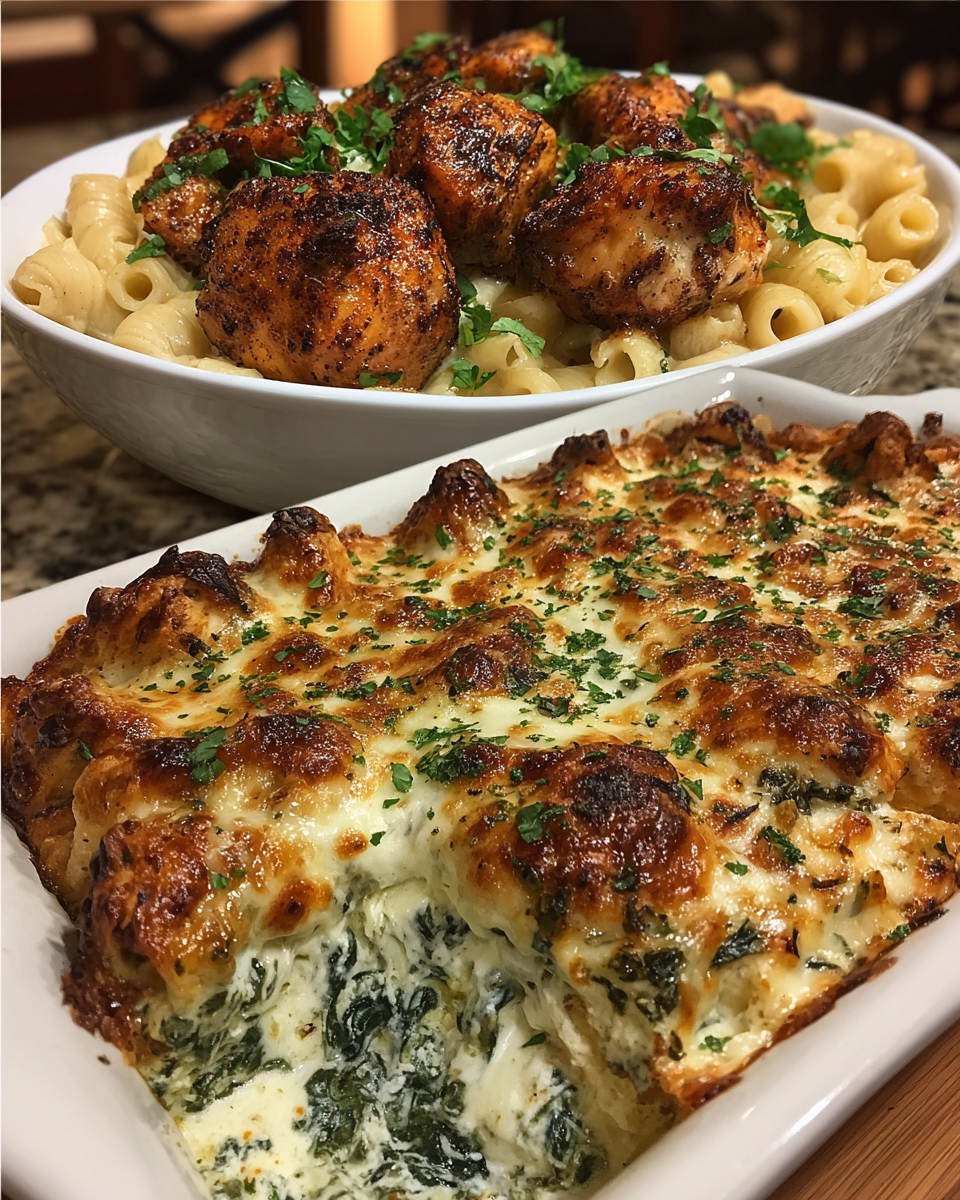
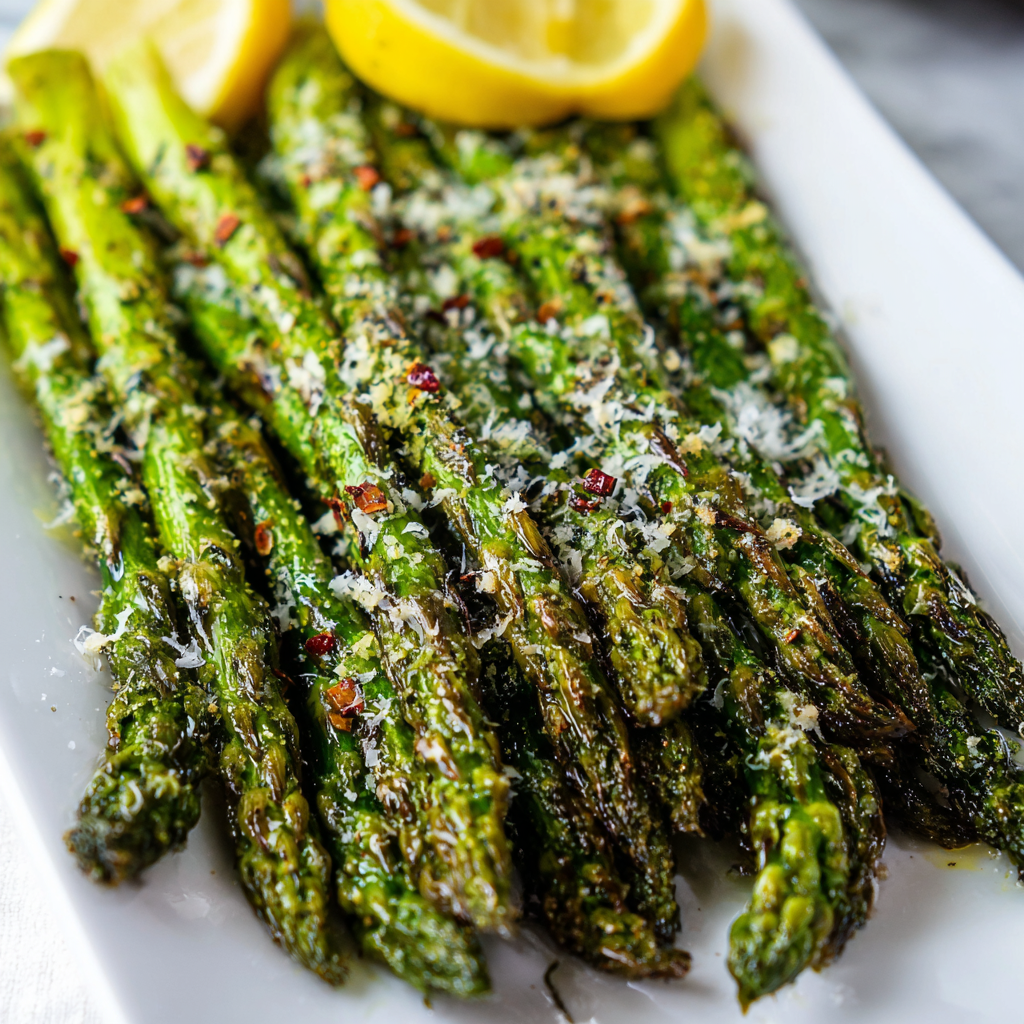
Classic Southern Pairings: Serve it alongside rich dishes like Bacon Asparagus Cajun Pasta or a creamy Cauliflower Au Gratin. Other classic Southern side dishes include collard greens, dirty rice, or red beans and rice.
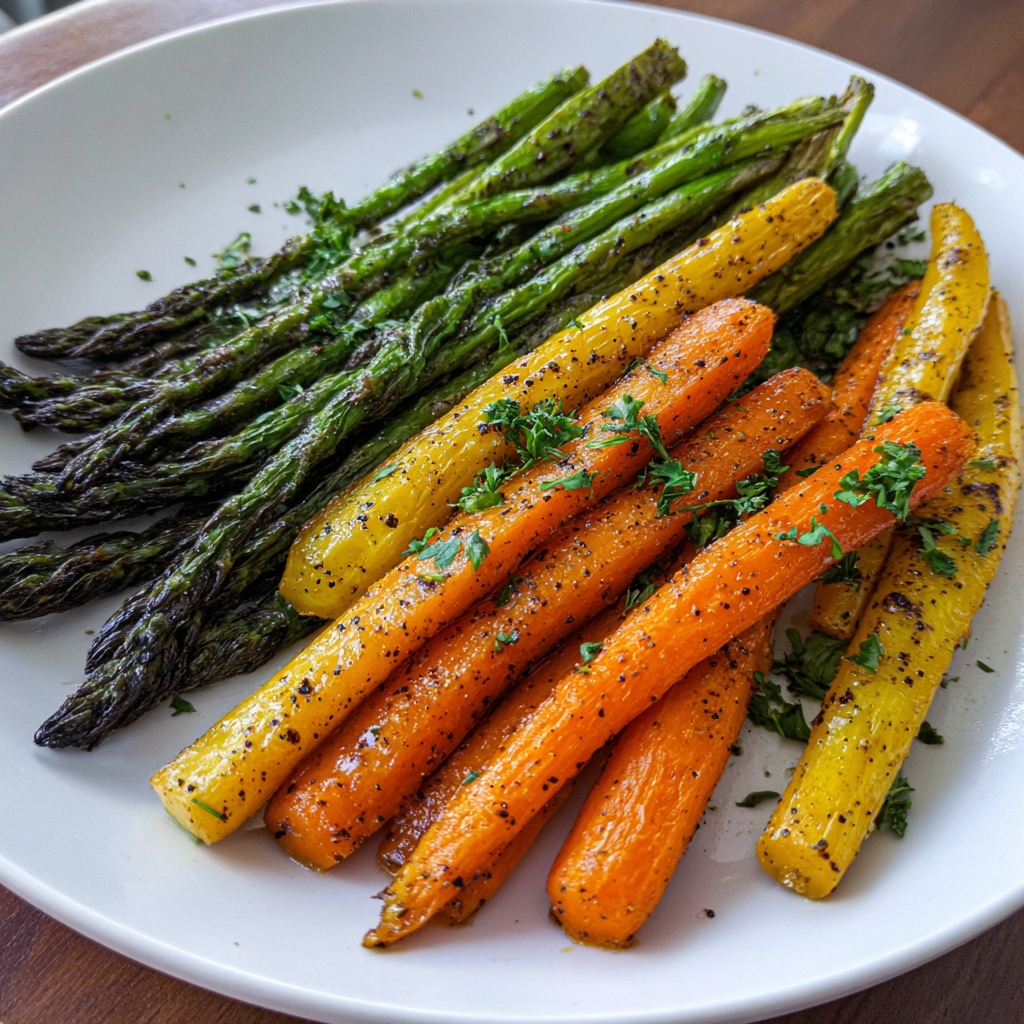
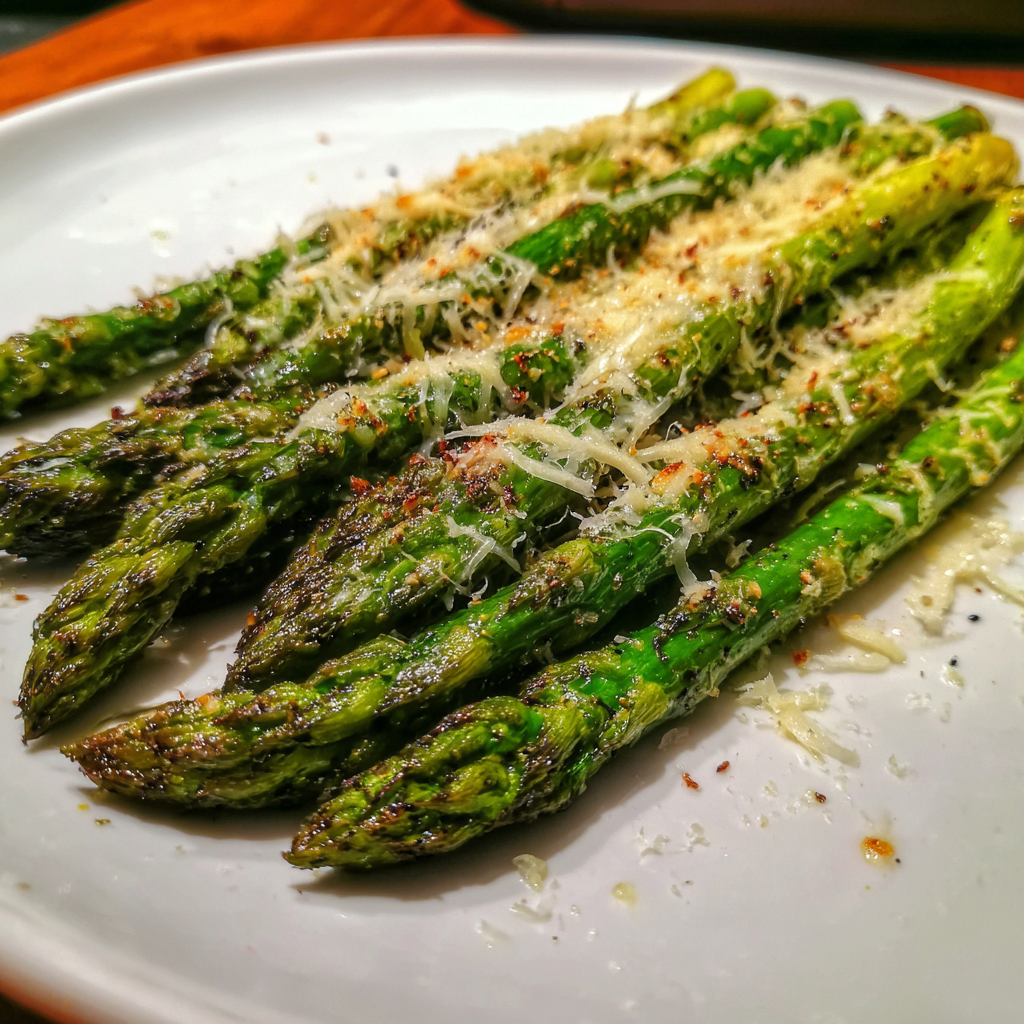
Simple & Fresh: For a lighter meal, pair your blackened chicken with simple buttered angel hair pasta and a crisp, fresh garden salad, or steamed green beans.
Versatile Meals: You can also slice the chicken into chicken strips or bites and enjoy them dipped in ranch sauce. Diced blackened chicken is fantastic tossed into a fresh green salad for a complete meal, or tucked into wraps, tacos, or sandwiches.
Garnish: A sprinkle of fresh parsley, cilantro, or a squeeze of lemon or lime juice can brighten the flavors beautifully.
Storage and Make-Ahead
Refrigeration: Store any leftover blackened chicken in an airtight container in the refrigerator for up to 3 days. It makes for excellent meal prep throughout the week!
Freezing: Cooked blackened chicken freezes beautifully. Once cooled, wrap individual portions tightly in plastic wrap and then aluminum foil, or place in freezer-safe bags. It will keep for up to 2-3 months. Thaw overnight in the refrigerator before reheating.
Reheating: To retain moisture and flavor, reheat blackened chicken gently. You can warm it in the microwave at reduced power or, my preferred method, gently in a skillet over low heat with a splash of chicken broth or water to keep it tender.
Conclusion
There you have it: my definitive recipe for truly exceptional blackened chicken. Thanks to that unique buttermilk marinade and precise sear-then-finish cooking method, you’ll achieve tender, juicy chicken with an incredible, smoky, and flavorful crust every single time. With the detailed instructions and expert tips I’ve shared, I’m confident you can master this restaurant-quality blackened chicken right in your own kitchen, even if you’re a beginner.
Don’t hesitate to make this easy dinner a staple in your rotation. Experiment with the spice level, try different serving ideas, and make it your own. I encourage you to print this recipe, give it a try, and share your delicious creations! And when you’re ready for more quick recipe ideas, be sure to explore the rest of my blog.
Frequently Asked Questions (FAQ)
What does ‘blackened’ mean in cooking, and how is it achieved?
Blackened is a cooking technique that creates a dark, flavorful crust on food through high heat searing with a special Cajun seasoning blend. It’s about intense browning and caramelization (the Maillard reaction), not actual burning.
How do I prevent excessive smoke when blackening chicken in my kitchen?
Ensure good ventilation (fan, open windows), use high smoke point cooking oil like canola oil or avocado oil, and make sure the pan is hot but not overly smoking before adding the chicken. Some smoke is natural for the technique.
What is the ideal internal temperature for perfectly cooked blackened chicken?
The safe internal temperature for chicken doneness is 165°F (74°C). Always use a meat thermometer inserted into the thickest part of the chicken for accuracy.
Can I cook blackened chicken on a grill or in an air fryer?
Yes, you can. Grilling requires maintaining high heat, and an air fryer provides a crispy finish. Refer to the ‘Cooking Variations’ section above for more detailed guidance on how to make blackened chicken using these methods.
How can I adjust the spice level of homemade blackening seasoning?
To adjust the spice level, simply modify the amount of cayenne pepper. Reduce it for a mild flavor, or increase it for a hotter kick. Smoked paprika adds flavor without significant heat.
What are the best side dishes to serve with blackened chicken for a complete meal?
Great pairings include Bacon Asparagus Cajun Pasta, Cauliflower Au Gratin, simple rice or pasta, fresh green salads, or steamed vegetables. Check the ‘Serving Ideas’ section for more delicious suggestions.
How do I keep my blackened chicken from drying out?
Our recipe’s unique twist with a buttermilk marinade, a quick sear, and then an oven finish (or covered skillet with broth) helps significantly. Also, ensure you don’t overcook the chicken and always rest the meat for 10-15 minutes after cooking to retain juices.
What kind of pan should I use for blackened chicken?
A cast-iron skillet is traditional and excellent for blackening due to its heat retention. However, a quality nonstick skillet, as used in this recipe, also works very well for achieving a good blackened crust and is often more accessible for home cooks.
How do I store and reheat blackened chicken?
Store cooked blackened chicken in an airtight container in the refrigerator for up to 3 days. To reheat, gently warm it in the microwave at reduced power or in a skillet with a splash of broth or water to help it retain moisture and tender chicken texture.
Buttermilk Blackened Chicken: Juicy, Spicy & Easy Recipe
Ingredients
Equipment
Method
- To begin, place your boneless skinless chicken breasts in a bowl and pour in enough buttermilk to cover them. Let the chicken marinate for at least 30 minutes. This initial buttermilk marinade is my secret weapon for creating ultra-juicy and tender chicken, making all the difference in the final texture.
- In a Ziploc bag, combine the smoked paprika, cayenne pepper, dried thyme, garlic powder, onion powder, black pepper, oregano, and salt. Zip the bag shut and shake it well to thoroughly combine all the spices. Using a Ziploc sandwich bag for this step makes for easy cleanup!
- After marinating, remove the chicken breasts from the buttermilk and thoroughly pat them dry with paper towels. This step is crucial because drying the chicken helps achieve that crisp, dark crust rather than steaming the chicken. For more even cooking, let your chicken breasts come to room temperature for about 30 minutes before you start cooking. Next, lightly brush both sides of each chicken breast with oil or spray them with baking spray, ensuring they are evenly coated with a thin layer of oil. Then, use your hands to spread the prepared seasoning blend evenly over the chicken, making sure each piece is fully coated in the dark, vibrant spice blend.
- Heat one tablespoon of canola oil in a nonstick skillet over medium-high heat until it is just beginning to smoke. High heat cooking is absolutely essential for searing and creating that desirable Maillard reaction, which gives blackened chicken its signature golden brown (almost black) crust. Carefully place the seasoned chicken in the hot pan. Cook each side for approximately 5 minutes, until it develops that deep golden brown, almost black crust. Listen for the satisfying sizzle and watch that beautiful crust develop!
- Once both sides are beautifully seared, remove the chicken from the skillet. To ensure the chicken cooks through gently without drying out, you have a couple of options: either transfer the skillet to a hot oven to finish cooking, or if you prefer to stay on the stovetop, cover the skillet with a lid and add a splash of chicken broth. This creates a steamy environment that helps the chicken reach its internal temperature while staying incredibly moist.
- After cooking, transfer the chicken to a cutting board, cover it loosely with an aluminum foil tent, and let it rest for 10 minutes. Resting meat is a critical step to retain juices, ensuring your blackened chicken remains incredibly juicy instead of drying out. Don’t skip this!