 Skip to content
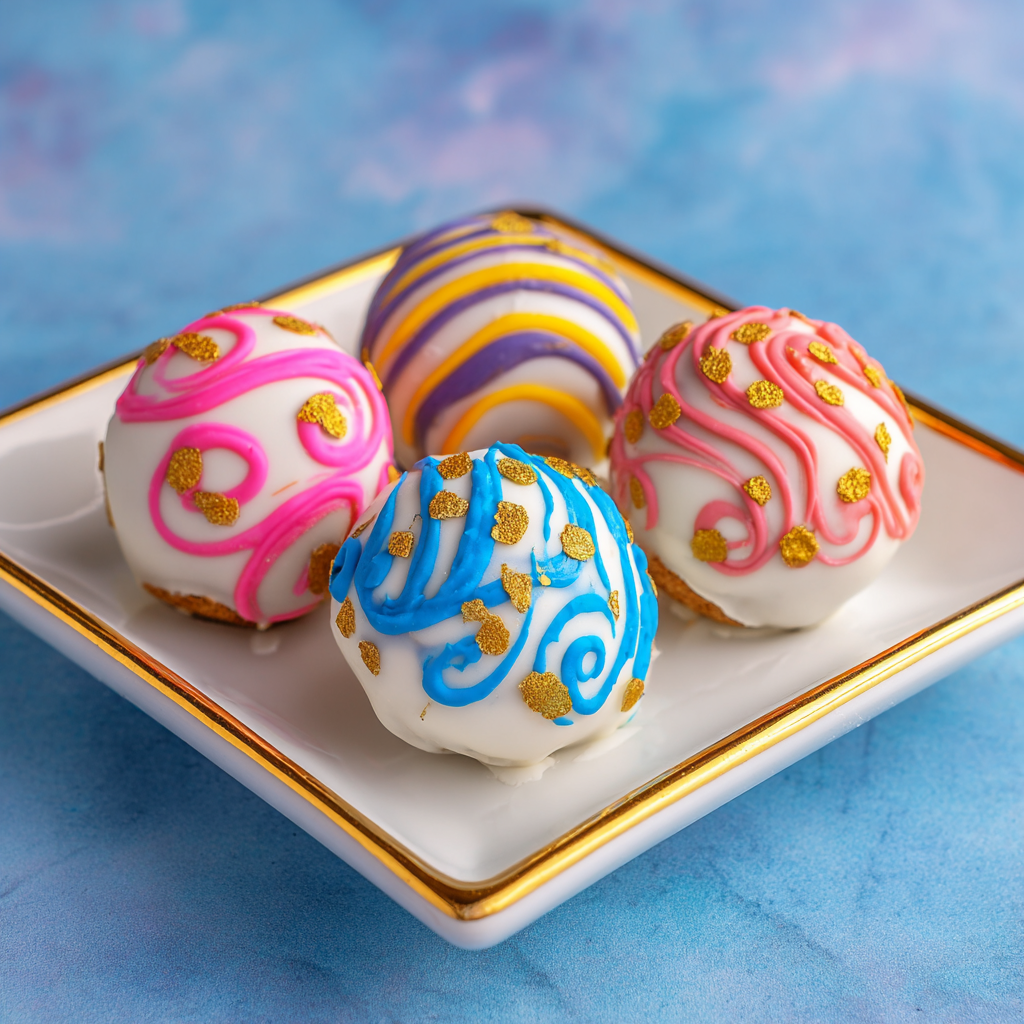
 Get ready to whip up a truly delightful Easter egg Oreo balls recipe, perfect for celebrating spring! These simple, no-bake cookie balls are incredibly easy to make, even for beginner bakers. You’ll create festive, colorful treats that capture the spirit of the holiday. This is the ideal activity to engage kids and create fun, edible memories together.
Why You’ll Love These Easter Egg Oreo Balls
These charming Easter egg Oreo balls are sure to become a holiday favorite for so many reasons!
- Effortless No-Bake Preparation: Skip the oven entirely for a stress-free dessert.
- Simple Ingredients: You only need four basic items to get started.
- Customizable Designs: Get creative with colors and patterns to make each egg unique.
- Kid-Friendly Fun: Little hands will love helping shape and decorate these treats.
- Perfect for Any Occasion: They’re ideal for Easter gatherings, gifting, or a sweet snack.
Ingredients
Gather these simple ingredients to create your beautiful Easter egg Oreo balls:
- Golden Oreos: One 14.3 oz package (approximately 36 cookies). You’ll crush these into fine crumbs.
- Cream Cheese: 8 ounces, softened to room temperature for easy mixing.
- White Candy Coating: 10 ounces for dipping your cookie eggs, plus an additional 1 ounce per desired color for decorating.
- Gel Icing Colors: For vibrant, eye-catching decorations.
Notes & Substitutions
- Oreo Flavor: Feel free to swap Golden Oreos for classic chocolate Oreos, lemon, or mint Oreos to change the flavor profile. Just note that darker cookies might show through lighter coatings.
- Candy Coating: Other excellent choices include Wilton candy melts, almond bark, or Candiquik. Choose what is readily available to you.
- Decorations: If you prefer, skip the gel colors and use festive Easter sprinkles, edible glitter, or sanding sugar for a different look. Apply them right after dipping the cookie balls.
Equipment
You’ll need just a few basic kitchen tools for these no-bake Easter egg Oreo balls:
- Food processor or blender (for crushing cookies)
- Large mixing bowl
- Rubber spatula or sturdy spoon
- Baking sheet
- Parchment paper
- Microwave-safe bowls or a double boiler
- Toothpicks or candy dipping tools
- Piping bags or small resealable bags
Instructions
Follow these easy steps to make your delightful Easter egg Oreo balls:
Step 1: Crush the Oreos
Place the Golden Oreo cookies into your food processor or blender. Pulse the cookies until they form very fine crumbs. Ensure there are no large cookie pieces remaining for a smooth texture.
Step 2: Combine with Cream Cheese
Add the softened cream cheese to the finely crushed cookie crumbs in a large mixing bowl. Mix thoroughly with a rubber spatula or spoon until the ingredients are well combined. The mixture should be pliable and easy to handle, forming a cohesive dough.
Step 3: Shape into Eggs
Scoop out about 1.5 tablespoons of the cookie mixture. Roll it gently between your palms, then lightly press and shape it into small, oval egg forms. Place each shaped Oreo cookie egg onto a baking sheet lined with parchment paper.
Step 4: Chill the Oreo Eggs
Once all your cookie eggs are shaped, place the baking sheet into the refrigerator. Chill them for at least 1 hour. This crucial step ensures the eggs are firm enough to prevent crumbling when you dip them into the candy coating.
Step 5: Dip in White Candy Coating
When the Easter egg Oreo balls are thoroughly chilled, melt the 10 ounces of white candy coating. You can do this in a microwave-safe bowl (in 30-second intervals, stirring) or over a double boiler. Insert a toothpick into the bottom of a chilled cookie egg. Dip the entire egg into the melted coating, ensuring it is fully covered. Gently shake off any excess coating.
Carefully place the dipped egg back onto the parchment paper to dry. Immediately after placing it down, gently twist and pull out the toothpick. Dab a tiny bit of melted coating over the small hole where the toothpick was. Repeat with the remaining eggs.
Step 6: Add Colorful Decorations
Once the white candy coating has fully set, it’s time to decorate! Melt 1 ounce of white candy coating per desired color you plan to use. Add a few drops of gel icing color to each small bowl of melted coating and stir until you achieve your desired hue. Transfer the colored coating into small piping bags or resealable bags with a corner snipped off. Drizzle or pipe decorative patterns, zigzags, or polka dots onto your Easter egg Oreo balls. Allow all decorations to fully set before storing.
Pro Tips & Troubleshooting
- Cream Cheese Consistency: Always use softened, not melted, cream cheese. This ensures proper binding without making the mixture too sticky or greasy. Achieving the right consistency is vital for the success of no-bake treats, as properly softened cream cheese ensures a smooth mixture. Learn more about why softened cream cheese is crucial for smooth no-bake desserts.
- Thorough Chilling: Don’t rush the chilling process. Firm cookie eggs are less likely to fall apart or create crumbs in your melted coating.
- Food Coloring: Only use gel food coloring for candy melts. Liquid food coloring can cause the chocolate or candy coating to seize and become clumpy. To ensure a smooth, clump-free coating, it’s crucial to understand why water-based food coloring can cause chocolate to seize.
- Thinning Coating: If your candy coating seems too thick for smooth dipping, add a tiny amount (1/4 teaspoon) of coconut oil or vegetable shortening and stir well.
- Smooth Dipping: Work efficiently when dipping. If your candy coating starts to harden, reheat it briefly until smooth again.
- Prevent Cracks: Avoid extreme temperature changes. Don’t move the freshly dipped eggs directly from a warm room to a very cold refrigerator as this can cause the coating to crack.
- Easy Cleanup: Line your workspace with parchment paper or wax paper. This makes cleanup quick and easy, especially if you have any drips.
Serving & Storage
Serve your beautiful Oreo cookie eggs chilled for the best flavor and texture. The creamy center is wonderfully refreshing when cold.
- Storage: Store any leftover Easter egg Oreo balls in an airtight container. Keep them in the refrigerator for up to 1 week to maintain freshness.
- Freezing: For longer storage, you can freeze these delightful treats for up to 1 month. Layer them between sheets of parchment paper in an airtight freezer-safe container.
- Thawing: When ready to enjoy frozen treats, simply thaw them in the refrigerator overnight before serving.
Flavor & Decoration Variations
- Cookie Base: Get adventurous! Try using mint Oreos for a refreshing twist, peanut butter Oreos for a nutty flavor, or other seasonal Oreo flavors.
- Colored Coating: Instead of coloring white coating, purchase pre-colored candy melts in various pastel Easter shades. This saves a step and provides a consistent color.
- Sprinkle Fun: Immediately after dipping the Oreo cookie eggs in the main coating, sprinkle them with festive Easter sprinkles, nonpareils, or sanding sugar for extra sparkle and texture.
- Edible Accents: Add small edible glitter, sugar pearls, or tiny candy decorations to your finished eggs for an extra touch of elegance or whimsy.
Nutrition Information (per 1 egg serving)
| Nutrient | Amount |
| :—————– | :——- |
| Calories | 132 |
| Fat | 9g |
| Saturated Fat | 5.1g |
| Trans Fat | 0g |
| Cholesterol | 13.7mg |
| Sodium | 56.3mg |
| Carbohydrates | 11.6g |
| Fiber | 0g |
| Sugar | 10.6g |
| Protein | 1.6g |
*These values are estimates and may vary based on specific ingredients and preparation.*
Frequently Asked Questions (FAQ)
- Can I use any type of Oreo for this recipe? Yes, any Oreo flavor works! However, using lighter cookies like Golden Oreos ensures less of the cookie shows through a white coating.
- How far in advance can I make these Easter egg Oreo balls? You can prepare these delicious treats up to a week in advance when stored properly in the refrigerator.
- What if my candy coating gets too thick or hardens? Reheat it gently in the microwave or over a double boiler. You can add a tiny bit of coconut oil to thin it slightly.
- Can I make these without a food processor? Absolutely! Place the Oreos in a sturdy resealable bag and crush them into fine crumbs using a rolling pin.
- Are these suitable for dietary restrictions? This specific recipe is not inherently diet-friendly, but you could explore gluten-free Oreos and dairy-free cream cheese alternatives for certain needs.
Conclusion
You now have all the tools to create these incredibly simple, festive Easter egg Oreo balls! This no-bake dessert is a fantastic activity for all ages and a perfect addition to any holiday table. Get creative with your colors and decorations, making each batch uniquely yours. Share these delicious, homemade treats with loved ones and make this Easter extra sweet and memorable!
Easy Easter Egg Oreo Balls
Ingredients
Equipment
Method
- Place the Golden Oreo cookies into your food processor or blender. Pulse the cookies until they form very fine crumbs, ensuring no large cookie pieces remain for a smooth texture.
- Add the softened cream cheese to the finely crushed cookie crumbs in a large mixing bowl. Mix thoroughly with a rubber spatula or spoon until the ingredients are well combined and form a cohesive, pliable dough.
- Scoop out about 1.5 tablespoons of the cookie mixture. Roll it gently between your palms, then lightly press and shape it into small, oval egg forms. Place each shaped Oreo cookie egg onto a baking sheet lined with parchment paper.
- Once all your cookie eggs are shaped, place the baking sheet into the refrigerator. Chill them for at least 1 hour to ensure they are firm enough to prevent crumbling when dipped.
- Melt 10 ounces of white candy coating in a microwave-safe bowl (in 30-second intervals, stirring) or over a double boiler. Insert a toothpick into the bottom of a chilled cookie egg and dip the entire egg into the melted coating, ensuring full coverage. Gently shake off any excess.
- Carefully place the dipped egg back onto the parchment paper to dry. Immediately after placing it down, gently twist and pull out the toothpick. Dab a tiny bit of melted coating over the small hole. Repeat with remaining eggs.
- Once the white candy coating has fully set, melt 1 ounce of white candy coating per desired color. Add a few drops of gel icing color to each small bowl and stir until you achieve your desired hue. Transfer the colored coating into small piping bags or resealable bags with a corner snipped off.
- Drizzle or pipe decorative patterns, zigzags, or polka dots onto your Easter egg Oreo balls. Allow all decorations to fully set before storing.


