 Skip to content
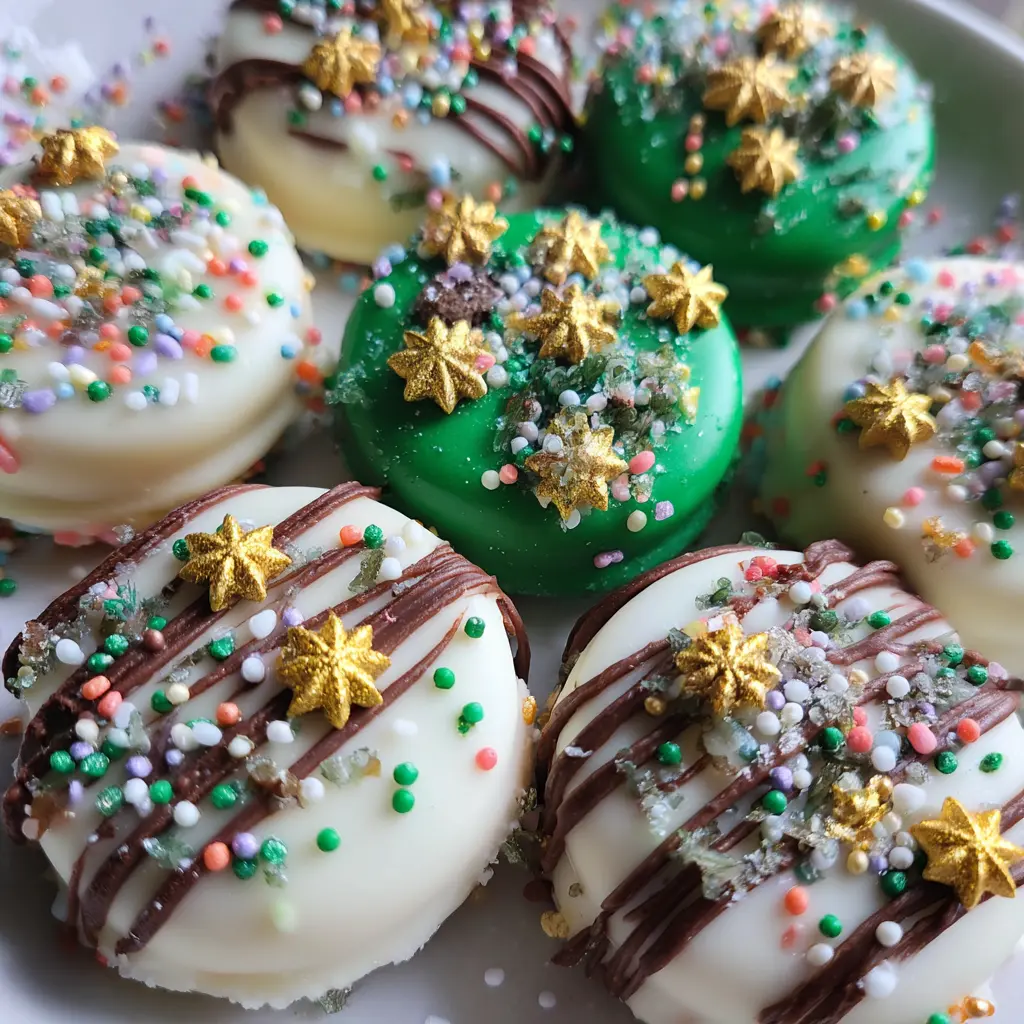
Create delightful Christmas Oreos with this super simple recipe! You’ll love dipping classic Oreo cookies into creamy white chocolate, then decorating them with a charming Christmas tree design. This no-bake treat comes together quickly, making it a perfect festive addition to your holiday spread. Get ready for an easy, impressive, and delicious holiday dessert.
Why You’ll Love These Christmas Oreos
These Christmas Oreos are truly a holiday favorite for so many reasons. You will love how simple and fun they are to make!
- This recipe is a no-bake holiday treat, perfect for busy schedules.
- Preparation and decoration are incredibly quick, ideal for last-minute needs.
- You use versatile Oreo cookies, a universally loved base.
- These festive Oreos make wonderful homemade gifts for friends and family.
- Easily customize them for any festive occasion with different colors and sprinkles.
Ingredients
Gather these simple ingredients to create your beautiful Christmas Oreos. You only need a few items to transform ordinary cookies into extraordinary holiday treats.
- Oreos:
- Grab your favorite flavor; holiday-themed Oreos work perfectly.
- White chocolate or white candy melts:
- Choose a good quality option for smooth dipping.
- Green candy melts:
- You can also use white chocolate tinted with green gel food coloring.
- Assorted Christmas sprinkles:
- Think nonpareils, stars, or festive beads for decoration.
- Chocolate jimmies:
- These are optional but great for creating tiny tree trunks.
Notes & Substitutions
High-quality chocolate makes a big difference in the taste and texture of your dipped cookies. Use premium white chocolate bars for the best flavor. When coloring white chocolate, always opt for gel food coloring. Liquid food coloring can seize the chocolate, making it clumpy, as explained by various culinary resources on why liquid food coloring affects chocolate. Feel free to customize your sprinkles to match any theme or holiday, not just Christmas.
Equipment
You only need a few basic kitchen tools to make these easy Christmas Oreos.
- Large baking sheet
- Parchment paper or silicone mat
- Microwave-safe bowls (small, shallow)
- Piping bag with small tip (size 1 or 2)
- Cookie decorating bottle (optional, but helpful)
- Tweezers (optional, for precise sprinkle placement)
Instructions
Prepare these delightful Christmas Oreos with ease following our step-by-step guide.
- Prepare baking sheet: Line a large baking sheet with parchment paper or a silicone baking mat. Set it aside for later use.
- Melt white chocolate: Melt the white chocolate or white candy melts in a small, shallow microwave-safe cup or bowl, or use a double boiler, until smooth and creamy. If using a double boiler, transfer the melted chocolate to a small, shallow cup.
- Dip Oreos: Working one cookie at a time, dip the bottom half of an Oreo into the melted white chocolate. Let any excess drip off, then place the dipped cookie onto your prepared baking sheet.
- Allow to set: Let the white chocolate coating on your Christmas Oreos harden at room temperature for about 15 minutes.
- Melt green candy melts: While the white chocolate sets, melt the green candy melts in a small microwave-safe bowl or using a double boiler until completely smooth.
- Prepare piping: Transfer the melted green candy melts to a piping bag with a tiny corner snipped off, or fit a piping bag with a size 1 or 2 piping tip. A small cookie decorating bottle with a size 2 tip also works wonderfully.
- Pipe Christmas trees: Once the white chocolate is set, pipe the green candy melts onto the top of each Oreo. Use a zig-zag motion to create the shape of an abstract Christmas tree.
- Add decorations: Immediately after piping each tree, sprinkle nonpareils, star toppers, or any other festive decorations onto the still-wet green chocolate. Work on one or two cookies at a time so the chocolate doesn’t set before you add sprinkles.
- Apply tree trunks: For an optional touch, place a chocolate jimmie at the base of each green tree to serve as a trunk.
- Final set: Allow your decorated Christmas Oreos to set completely at room temperature before serving or packaging. This ensures all decorations adhere well and the chocolate is firm.
Pro Tips & Troubleshooting
Achieving perfect Christmas Oreos is simple with a few helpful hints. When melting chocolate, stir it frequently. This prevents scorching and ensures a smooth, even consistency for dipping. Always allow your dipped cookies to set at room temperature instead of refrigerating them. This method prevents the chocolate from cracking later. Work quickly when decorating; pipe a tree and add sprinkles to one or two cookies at a time before the chocolate hardens. For tinting white chocolate, always use gel food coloring. Gel colors won’t seize the chocolate like liquid dyes can. Utilize tweezers for precise placement of small sprinkles like stars or beads, giving your cookies a professional touch. Finally, ensure all decorations adhere firmly before the chocolate sets for the best presentation.
Serving, Storage, & Variations
These Christmas Oreos are as versatile as they are delicious, perfect for any holiday gathering.
Serving Suggestions:
- Arrange them beautifully on holiday cookie platters.
- Package them in festive bags or boxes for edible gifts.
- Pair these sweet treats with a mug of hot cocoa or your favorite coffee.
Storage Instructions:
- Store your decorated Oreos in an airtight container to maintain freshness.
- Keep them at room temperature for up to two weeks.
- For longer storage, freeze them for up to two months. Note that freezing may slightly soften the cookie crunch.
- To thaw, simply arrange them in a single layer at room temperature.
Creative Variations:
- Experiment with different Oreo flavors, like mint or red velvet, for unique twists.
- Change the sprinkle colors to suit other holidays or party themes.
- Try different piped designs, like snowflakes or stripes, instead of trees.
- Drizzle your dipped Oreos with contrasting dark or milk chocolate for extra flair.
Nutrition Information
(Per serving, 1 Oreo)
| Nutrient | Amount |
|---|---|
| Calories | 117 kcal |
| Carbohydrates | 15g |
| Protein | 1g |
| Fat | 6g |
| Saturated Fat | 3g |
| Trans Fat | 0.01g |
| Cholesterol | 2mg |
| Sodium | 57mg |
| Fiber | 0.4g |
| Sugar | 12g |
FAQ
- What type of white chocolate is best for dipping?
- High-quality white chocolate bars or dedicated candy melts work best. Candy melts are easier to work with, but bars offer superior flavor.
- Can I melt the green candy melts directly in the piping bottle?
- It’s generally better to melt candy melts in a bowl for more even heating. Transfer the melted candy to the bottle for easier piping.
- How do I prevent the chocolate from cracking after it sets?
- Allow the chocolate to set at room temperature rather than in the fridge. Drastic temperature changes can cause cracking.
- Can these cookies be frozen for later?
- Yes, you can freeze your Christmas Oreos for up to two months. Wrap them tightly and thaw in a single layer at room temperature.
- What is a “chocolate jimmie”?
- Chocolate jimmies are small, rod-shaped sprinkles. You can substitute them with any small, dark sprinkle or even a tiny piece of pretzel stick.
- How long do these take to dry completely?
- Drying time typically takes 15-30 minutes at room temperature, depending on humidity and chocolate thickness. Ensure they are firm to the touch before handling.
Conclusion
These delightful Christmas Oreos offer a wonderfully simple yet impressive way to celebrate the holidays. With minimal effort, you can transform classic cookies into festive works of art, perfect for any occasion. Their versatility means you can easily adapt them for different themes and events throughout the year. Don’t wait; try this easy recipe and add a touch of handmade charm to your holiday traditions. For more festive inspiration, explore our other holiday cookie recipes!
Remember to always adhere to food safety basics when preparing homemade treats.


