Skip to content
 There’s nothing quite like a comforting bowl of chili to warm you up, and when it comes to weeknight meals here in the US, my creamy white chicken chili recipe truly stands out. This isn’t just any chicken chili; it’s the ultimate creamy white chicken chili, boasting an incredible depth of flavor and a velvety texture that will have you coming back for more. It’s surprisingly easy to make, packed with hearty goodness, and utterly comforting. Whether you’re a seasoned chef or a kitchen novice, this detailed recipe, complete with comprehensive tips and variations, promises to deliver a satisfying meal every time. I’m excited to share my secret twist that truly elevates this dish!
Why You’ll Love This Recipe
In my kitchen, every recipe needs a special touch, and this White Chicken Chili has a couple of game-changers that make it simply irresistible. This isn’t just another creamy chicken chili; it’s a testament to how small tweaks can lead to big flavors.
The Secret to Unbeatable Flavor: Blooming Spices
One of the most crucial steps I insist on is blooming the spices. This involves briefly cooking the ground cumin, cayenne, dried oregano, and paprika in hot olive oil alongside the onions and garlic. This technique, a simple application of the Maillard reaction, dramatically intensifies the fat-soluble flavor compounds within the spices. The result? A much richer, deeply aromatic base for your chili that you just can’t achieve by simply stirring them in later. It’s a foundational layer of flavor that truly sets this chicken chili apart.
Velvety Smooth Texture with a Secret Ingredient
Achieving that luxuriously creamy, velvety texture is another hallmark of my white chicken chili, and it comes from a combination of pureed beans and a secret ingredient: a touch of cream cheese (or mascarpone). Adding just 1-2 tablespoons of cream cheese at the very end, once the chili is off the heat, works wonders. Its higher fat content and emulsifying properties blend seamlessly with the pureed beans, creating an incredibly smooth and rich mouthfeel without making the chili heavy. It’s a subtle addition that makes a huge difference.
More Reasons This Recipe Shines
- Quick & Easy: Perfect for busy weeknights, especially when you use pre-cooked or rotisserie chicken.
- Hearty & Comforting: This one-pot meal is ideal for cooler weather, offering warmth and satisfaction.
- Customizable: Easily adjust the spice level or adapt it for various cooking methods like the slow cooker or Instant Pot.
- Freezer-Friendly: It’s excellent for meal prepping and enjoying later, making your future self very happy.
Ingredients Needed

Here’s exactly what you’ll need to create this incredibly flavorful white chicken chili. I recommend gathering all your ingredients before you start cooking.
- 1 tablespoon olive oil
- 1 small yellow onion, chopped (about ½ cup)
- 2 garlic cloves, finely minced (or 1 ½ teaspoons garlic powder)
- 2 1/2 cups low-sodium chicken broth
- 2 4 oz cans diced green chilies
- 1 1/2 teaspoons ground cumin
- 1/4 teaspoon cayenne pepper
- 1/2 teaspoon Dried oregano
- ½ teaspoon paprika
- 1/2 small lime, juice from
- salt and freshly ground black pepper, to taste
- 2 15 oz cans great northern beans
- 1 cup sour cream or plain Greek yogurt
- 1 cup corn (frozen or fresh)
- 2 heaping cups cooked chicken, shredded (rotisserie or left-over chicken*)
- Fresh cilantro
- shredded cheese
- tortilla chips
- green onions
- avocado
Ingredient Notes & Smart Substitutions
- Chicken: “2 heaping cups cooked chicken” is approximately 12-16 oz (340-450g). For ultimate convenience, I often grab a rotisserie chicken. If you prefer to cook raw chicken breasts or thighs (about 1.5 lbs raw), you can do so directly in the pot. For easy shredding, two forks work wonderfully, or even a stand mixer for larger quantities.
- Beans: Great Northern beans are traditional for their mild flavor and creamy texture when pureed, but cannellini or pinto beans are excellent alternatives. Always drain and thoroughly rinse canned beans to reduce sodium and improve flavor.
- Broth: Using low-sodium chicken broth gives you full control over the saltiness of your white chicken chili. You can always add more salt, but you can’t take it away!
- Green Chilies: I recommend two 4 oz cans for a balanced flavor, but feel free to adjust the quantity based on your desired spice level.
- Sour Cream/Greek Yogurt: Either of these will provide a lovely creamy tang. For dairy-free needs, unsweetened plain dairy-free yogurt or a homemade cashew cream can be excellent substitutes.
- The Secret Twist Ingredients: Don’t forget the optional, but highly recommended, 1-2 tablespoons of cream cheese or mascarpone. This small addition is key to the recipe’s unique velvety richness and is a game-changer for texture.
- Garnishes: Fresh cilantro, shredded cheese, creamy avocado, and crunchy tortilla chips aren’t just for looks; they add essential layers of flavor and texture to your finished chili.

How to Make White Chicken Chili
Making this creamy white chicken chili on the stovetop is straightforward and incredibly rewarding. Follow these steps to ensure every spoonful is bursting with flavor and boasts that perfect velvety texture.
Step-by-Step Stovetop Method
This method focuses on building deep flavors from the start, a technique I swear by in my own kitchen.
- Step 1: Sauté Aromatics & Bloom Spices: Heat the olive oil in a large (5-6 quart) pot over medium-high heat. Add your chopped yellow onion and sauté, stirring occasionally, until it has softened and become translucent, which typically takes 3-5 minutes. Then, add the minced garlic and, crucially, the ground cumin, cayenne pepper, dried oregano, and paprika. Cook for just 30 seconds, stirring constantly, allowing the spices to bloom in the hot oil until incredibly fragrant. This step is essential for unlocking their full, rich flavor. For more information on this technique, see this article on how to bloom spices.
- Step 2: Build the Chili Base: Carefully pour in the low-sodium chicken broth. Stir in the diced green chilies and the fresh lime juice. Season generously with salt and freshly ground black pepper to taste. Bring this fragrant mixture to a gentle simmer.
- Step 3: Prepare the Beans: While your chili base is simmering, drain and thoroughly rinse the great northern beans in a strainer under cold water. This removes excess sodium and any starchy liquid.
- Step 4: Puree for Creaminess (Optional but Recommended): For that signature creamy and thick texture, measure out a large ladleful of the rinsed beans and transfer them to a food processor. Add a splash of broth directly from your simmering chili. Puree until the mixture is completely smooth and creamy. This step significantly contributes to the chili’s desired luxurious consistency.
- Step 5: Simmer to Perfection: Add both the pureed beans and the remaining whole beans, along with the corn (whether frozen or fresh), to the soup pot. Bring the mixture back to a gentle simmer and continue to cook, uncovered, for 15 to 30 minutes. This allows all those wonderful flavors to meld together and the chili to thicken slightly to a beautiful consistency.
- Step 6: The Velvety Finish: Once your chili has reached its desired consistency, remove the pot from the heat. Stir in the sour cream (or plain Greek yogurt) and your cooked, shredded chicken. This is also the perfect moment to stir in 1-2 tablespoons of cream cheese or mascarpone. Watch it melt into the chili, creating an even richer, more velvety finish.
- Step 7: Serve & Garnish: Ladle the hot chili into bowls. Serve immediately, making sure to garnish generously with fresh cilantro, shredded cheese, creamy avocado slices, and crunchy tortilla chips, if desired. Enjoy every comforting bite!
Beyond the Stovetop: Other Cooking Methods & Chicken Prep
While I adore the stovetop method for my white chicken chili, I understand the need for versatility in the kitchen. Here’s how you can adapt this recipe for other cooking styles and manage your chicken prep like a pro.
Preparing Your Chicken: Cooked, Raw, or Rotisserie?
The beauty of this white chicken chili is its flexibility when it comes to chicken.
- Precision for Cooked Chicken: When I call for “2 heaping cups cooked chicken,” this translates to approximately 12-16 oz (340-450 grams) for those who prefer more precise measurements.
- Tips for Shredding: Shredding cooked chicken is a breeze. For smaller amounts, two forks pulling in opposite directions work perfectly. For larger batches, I sometimes put the cooked chicken in a stand mixer with the paddle attachment on low speed for just a few seconds—it shreds beautifully!
- Using Raw Chicken: If you’re starting with raw chicken, you absolutely can! Simply add about 1.5 lbs of raw chicken breast or thighs to the pot along with the broth in Step 2 of the stovetop method. Let it cook until the chicken is thoroughly cooked through, reaching an optimal internal temperature of 165°F (74°C). Remove the chicken, shred it, and then stir it back into the chili in Step 6 with the dairy ingredients.
Slow Cooker White Chicken Chili Method
For a truly hands-off experience, your slow cooker is a fantastic option. I always recommend sautéing the aromatics first, even for a slow cooker, as it builds a much deeper flavor foundation.
To adapt: Heat olive oil in a skillet. Sauté onions, garlic, and bloom your spices (cumin, cayenne, oregano, paprika) as per Step 1 of the stovetop method. Transfer this flavorful mixture to your slow cooker. Add chicken broth, diced green chilies, lime juice, salt, pepper, beans (pureed and whole), corn, and either cooked or raw chicken. Cook on low for 5-6 hours or on high for 3-4 hours. If using raw chicken, ensure it’s cooked through before shredding. Just before serving, stir in the sour cream (or Greek yogurt) and cream cheese/mascarpone until smooth.
Instant Pot White Chicken Chili Method
When you need this creamy chicken chili on the table fast, the Instant Pot is your best friend!
To adapt: Use the sauté function on your Instant Pot. Heat olive oil and sauté onions, garlic, and bloom your spices as per Step 1. Deglaze the pot with a splash of chicken broth, scraping up any browned bits. Add the remaining chicken broth, diced green chilies, lime juice, salt, pepper, beans (pureed and whole), corn, and either cooked or raw chicken. Secure the lid and set to Manual/High Pressure for 8 minutes. Allow a natural pressure release for 15 minutes, then quick release any remaining pressure. Remove raw chicken to shred, then stir in the cooked chicken, sour cream (or Greek yogurt), and cream cheese/mascarpone until melted and smooth. Enjoy!
Pro Tips & Troubleshooting
Even the best recipes can benefit from a few expert insights to ensure perfection every time. Here are my go-to tips and solutions for common hiccups when making this white chicken chili.
Pro Tips for the Best Creamy White Chicken Chili
These are the little secrets I use in my kitchen to ensure my chicken chili is always a hit:
- Don’t Skip the Spice Bloom: This is the unique twist! Blooming the dry spices (cumin, cayenne, oregano, paprika) in the hot oil with the onions and garlic before adding liquids extracts maximum flavor and creates an incredibly aromatic and rich chili base. It’s a game-changer.
- Embrace the Cream Cheese: While optional, the addition of cream cheese or mascarpone at the end provides an incredibly rich, velvety texture and luxurious mouthfeel. It truly makes this creamy chicken chili special.
- Puree for Perfection: Pureeing a portion of the great northern beans with a splash of broth is absolutely key to achieving that desired thick, creamy texture without needing heavy cream.
- Quick Cook with Rotisserie: For those busy weeknights, using leftover or pre-cooked rotisserie chicken dramatically cuts down on cooking time, making this a truly fast and flavorful meal.
- Season as You Go: Always taste and adjust your salt and pepper throughout the cooking process. Building layers of seasoning ensures a perfectly balanced flavor profile.
- Strategic Freezing: If you plan to freeze your white chicken chili, do so *before* stirring in the sour cream, cream cheese, or mascarpone. This prevents separation and helps maintain a smooth, creamy texture upon reheating.
Troubleshooting Common Chili Issues
Don’t worry, we all run into snags! Here’s how to fix them:
- Chili Too Thin: This is a common one! You can mash more of the whole beans with the back of a spoon, puree an additional ladleful of beans with a splash of broth, or create a simple cornstarch slurry (mix 1 tbsp cornstarch with 1 tbsp cold water, then stir into the simmering chili and cook for a minute or two until thickened).
- Chili Too Thick: Easily remedied! Just add a splash more chicken broth, a little at a time, until your white chicken chili reaches your desired consistency.
- Chili Too Salty: If you’ve over-salted, try adding a peeled, diced potato to simmer for 15-20 minutes; it can absorb some excess salt (then remove it). A squeeze of lime juice or a dash of vinegar can also balance the flavors, or simply dilute it with more unsalted broth.
- Chili is Bland: A bland chili often needs more spices! Add another pinch of your bloomed spices, a dash more cayenne for heat, or a favorite hot sauce. Extra lime juice can also brighten and deepen the overall flavor.
- Dairy Separation: This usually happens if sour cream or cream cheese is added too early or when the chili is at a rolling boil. To prevent this, always remove the chili from direct heat before stirring in dairy, and avoid vigorous boiling afterward.
Serving & Storage
Once your white chicken chili is perfectly cooked, it’s time for my favorite part: enjoying it! How you serve it and store it can make all the difference.
The Perfect Serve: Toppings & Side Pairings
Toppings aren’t just for decoration; they add essential layers of texture and flavor to your creamy white chicken chili. Get creative!
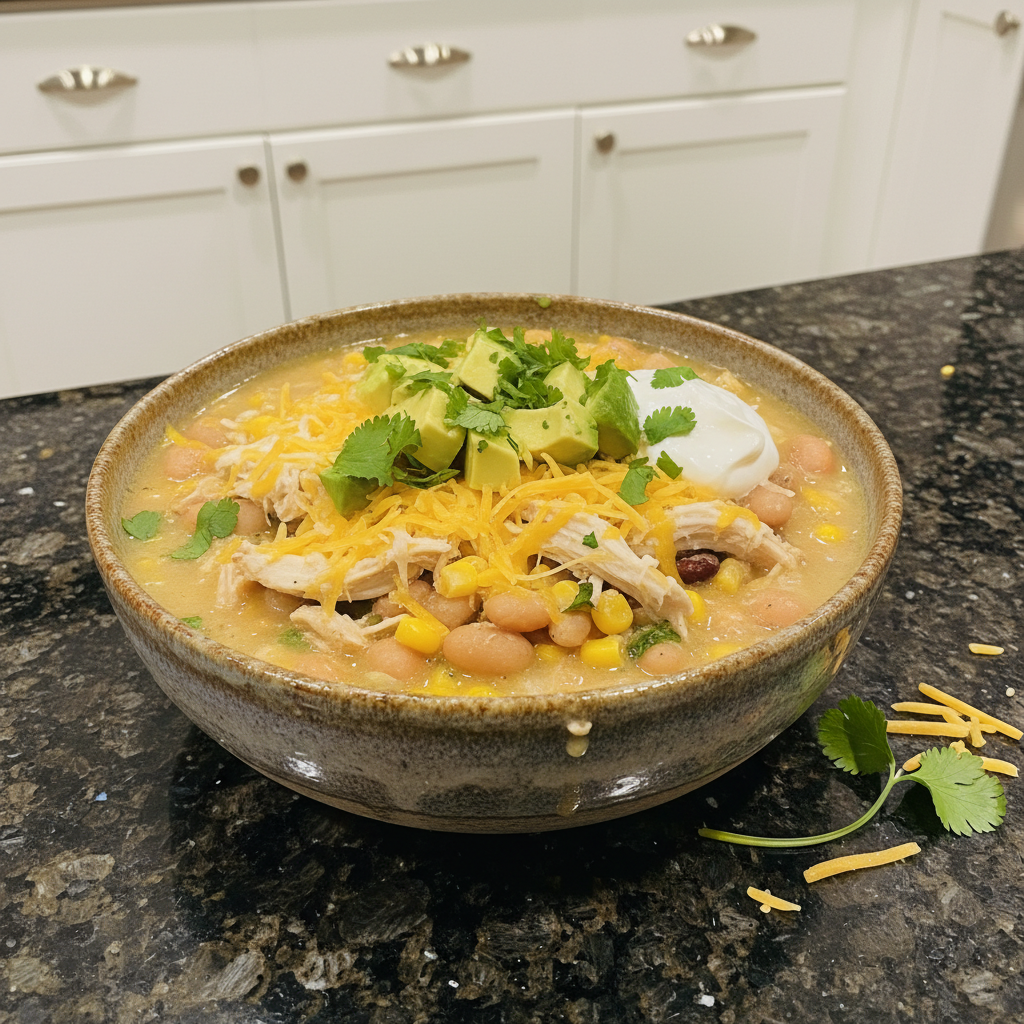
- Garnish Galore: I love a generous sprinkle of fresh cilantro, a handful of shredded Monterey Jack or cheddar cheese, creamy avocado slices, and for that satisfying crunch, a few tortilla chips. Sliced green onions add a nice bite, and an extra dollop of sour cream or Greek yogurt just enhances the creaminess. For an extra zing, a drizzle of salsa verde is fantastic!
- Delicious Side Dishes: This hearty chili pairs beautifully with a variety of sides. My personal favorites include warm Homemade Cornbread (perfect for soaking up all that delicious broth), a crisp Wedge Salad for a refreshing contrast, or some crusty No Knead Artisan Bread or soft Homemade Rolls, or even a crispy air fryer baked potato.
Storage, Make-Ahead & Reheating Tips
This creamy white chicken chili is fantastic for meal prep, and it freezes wonderfully too!
- Refrigeration: Leftover chili can be stored in an airtight container in the refrigerator for 3-4 days. It often tastes even better the next day as the flavors continue to meld.
- Freezing for Later: To freeze effectively, ensure your white chicken chili is completely cooled first. And here’s a crucial tip: freeze it *before* you stir in the sour cream, cream cheese, or mascarpone. Dairy can sometimes separate when frozen and thawed, affecting the texture. Store in freezer-safe containers or bags for up to 3 months.
- Reheating Instructions: For refrigerated chili, gently reheat it on the stovetop over low heat, adding a splash of broth if it seems too thick. You can also microwave individual portions. If you froze your chili without dairy, stir in fresh sour cream and cream cheese/mascarpone once it’s heated through.
Conclusion
There you have it—my ultimate creamy white chicken chili recipe, designed to bring warmth, comfort, and incredible flavor to your table. From the unique twist of blooming spices for an unparalleled depth of flavor to the secret addition of cream cheese or mascarpone for that luxurious, velvety texture, every element of this recipe has been crafted for perfection. I truly believe this is the best chicken chili you’ll ever make. It’s easy, incredibly comforting, and wonderfully customizable, allowing you to make it your own with various cooking methods and serving ideas. I encourage you to try this recipe, experiment with the variations, and savor every spoonful. Feel free to print it out, share it with your friends and family, and I’d love to hear about your experience in the comments below!
FAQ
Q1: What are the different cooking methods for White Chicken Chili?
Our recipe focuses on the stovetop method, but we also provide detailed instructions for making this creamy white chicken chili in a slow cooker or Instant Pot for your convenience.
Q2: How do I adjust the spice level in White Chicken Chili?
To make it milder, you can reduce the amount of diced green chilies to one can, omit the cayenne pepper, or substitute ½ cup of salsa verde for some of the broth. For more heat, add an extra pinch of cayenne or a dash of your favorite hot sauce.
Q3: Can I use raw chicken or make this recipe vegetarian?
Yes, you can use 1.5 lbs of raw chicken breast; simply add it with the broth and cook until it reaches 165°F, then shred. To make it vegetarian, omit the chicken entirely, use vegetable broth, and consider adding extra vegetables like bell peppers and zucchini.
Q4: How do I thicken my White Chicken Chili for a creamier texture?
The key to our chili’s creamy texture is pureeing a portion of the great northern beans with a splash of broth before adding them to the pot. The optional addition of cream cheese or mascarpone at the end also significantly enhances the chili’s velvety richness.
Q5: What are the best ways to store and freeze White Chicken Chili?
Store leftovers in an airtight container in the refrigerator for up to 3-4 days. For freezing, cool the chili completely and freeze it *before* stirring in the sour cream or cream cheese to prevent separation upon reheating. It can be frozen for up to 3 months.
Q6: What are popular toppings and side dishes for White Chicken Chili?
Popular toppings include fresh cilantro, shredded cheese (like Monterey Jack), avocado slices, tortilla chips, and green onions. It pairs wonderfully with Homemade Cornbread, a crisp green salad, or crusty artisan bread.
Q7: Can I use Greek yogurt instead of sour cream in white chicken chili?
Absolutely! Plain Greek yogurt is an excellent substitute for sour cream, offering a similar tangy flavor and creamy texture to your chili.
Q8: What is the approximate weight for “heaping cups” of cooked chicken?
“2 heaping cups” of cooked, shredded chicken typically translates to approximately 12-16 ounces (or 340-450 grams).
Flavorful White Chicken Chili: Creamy & Easy Recipe
Ingredients
Equipment
Method
- Heat the olive oil in a large (5-6 quart) pot over medium-high heat. Add your chopped yellow onion and sauté, stirring occasionally, until softened and translucent (3-5 minutes). Then, add the minced garlic, ground cumin, cayenne pepper, dried oregano, and paprika. Cook for just 30 seconds, stirring constantly, allowing the spices to bloom in the hot oil until incredibly fragrant.
- Carefully pour in the low-sodium chicken broth. Stir in the diced green chilies and the fresh lime juice. Season generously with salt and freshly ground black pepper to taste. Bring this fragrant mixture to a gentle simmer.
- While your chili base is simmering, drain and thoroughly rinse the great northern beans in a strainer under cold water to remove excess sodium and any starchy liquid.
- For a creamy and thick texture, measure out a large ladleful of the rinsed beans and transfer them to a food processor. Add a splash of broth directly from your simmering chili. Puree until the mixture is completely smooth and creamy.
- Add both the pureed beans and the remaining whole beans, along with the corn (frozen or fresh), to the soup pot. Bring the mixture back to a gentle simmer and continue to cook, uncovered, for 15 to 30 minutes, allowing flavors to meld and the chili to thicken.
- Once your chili has reached its desired consistency, remove the pot from the heat. Stir in the sour cream (or plain Greek yogurt) and your cooked, shredded chicken. This is also the perfect moment to stir in 1-2 tablespoons of cream cheese or mascarpone until melted, creating an even richer, more velvety finish.
- Ladle the hot chili into bowls. Serve immediately, garnishing generously with fresh cilantro, shredded cheese, creamy avocado slices, and crunchy tortilla chips, if desired.