Skip to content
 There’s something incredibly satisfying about making your own fermented foods, and for me, creating delicious Milk Kefir at home is at the top of that list. It’s a simple process that yields immense rewards for your gut health and your taste buds. If you’re looking for a rewarding and simple DIY project that brings a powerhouse of probiotics into your daily routine, then mastering Milk Kefir at Home is for you. I’m going to walk you through every step, from activating your grains to perfecting a unique second fermentation that guarantees superior taste, incredible fizziness, and a beautifully smooth texture.
Why You’ll Love This Recipe
I’ve been making milk kefir for years, and while the basic process is fantastic, I’ve found a unique twist that truly elevates the experience: a dedicated second fermentation. This isn’t just an extra step; it’s where the magic happens, transforming good kefir into truly exceptional kefir.
Superior, Customized Flavor: By allowing your strained kefir to ferment for another 6-24 hours with fresh fruit or a touch of natural sweetener, you unlock incredible depth. The microbes continue to work, infusing your kefir with delightful, natural flavors that you simply can’t get from a primary fermentation alone.
Enhanced Probiotic Potency & Reduced Tartness: During this Fermentation period, any remaining Lactose is consumed, which naturally reduces the tartness, making the kefir smoother and more palatable. This extended culturing in the presence of additional food (from fruit or sweetener) can also encourage the growth of even more beneficial Probiotic cultures.
Effervescent Fizz & Creamy Texture: Sealing your kefir in an airtight container during this Second Fermentation encourages natural carbonation. You’ll achieve a lovely, gentle fizz that makes drinking your homemade kefir an absolute delight. Plus, I’ve found this process helps to prevent excessive Whey separation, resulting in a consistently creamy, luxurious texture.
Ingredients Needed

- 1-2 teaspoons active Milk Kefir Grains
- Up to 4 cups fresh cow or goat milk
Ingredient Notes & Substitutions
Milk Kefir Grains: These aren’t really grains in the traditional sense, but a Symbiotic Culture of Bacteria and Yeasts (SCOBY). These tiny, cauliflower-like structures are the living organisms responsible for fermenting your milk into kefir. You’ll need active grains to start. If you have dehydrated grains, you’ll need to go through a process of Activating Grains before they are ready for regular use.
Milk Choices: The beauty of making Milk Kefir is its versatility. You can use various types of milk, including Cow Milk, Goat Milk, Raw Milk, or Pasteurized Milk. For initial activation of dehydrated grains, I always recommend using pasteurized milk. Once your grains are robust and active, you can slowly transition them to raw milk if desired.
Whole milk is generally preferred as its fat content provides ample nourishment for the grains, leading to a more robust culture. Avoid ultra-pasteurized (UHT) milk, as the extreme heat treatment can make it difficult for kefir grains to thrive.
Dairy-Free Options: If you’re avoiding dairy, it is possible to make Dairy-free Kefir using options like Coconut Milk or Almond Milk. However, these often require specific non-dairy kefir grains or careful management, and sometimes the grains benefit from periodic “re-invigoration” in dairy milk to stay strong.

How to Make Milk Kefir at Home
Making milk kefir is a straightforward, daily rhythm that I’ve come to love. Here’s how I do it in my kitchen:
Gather Your Gear & Combine
First, ensure all your equipment is sparkling clean. I always use a clean Glass Jar. Transfer your active Milk Kefir Grains into up to 4 cups of fresh milk. When handling the grains and stirring, always use a Non-metal Utensil such as a Silicone Spatula or a Plastic Spoon to avoid harming the delicate cultures.
For consistent fermentation, aim for a ratio of 1-2 teaspoons of grains per 2-4 cups of milk. This allows for flexibility; you can adjust the amount of milk based on how quickly you want your kefir to ferment and how thick you prefer it.
Cover for Culturing
Cover your jar with a Coffee Filter or Butter Muslin, securing it tightly with a Rubber Band or Canning Jarring. This Breathable Cover is essential as it allows air to circulate, which is necessary for the grains to thrive, while also preventing any unwanted contaminants from entering your culture.
Primary Fermentation: The Waiting Game
Place your Milk Kefir culture in a warm spot, ideally between 68°-85°F (20°-30°C), to culture. This Temperature Control is key for consistent fermentation. Your kefir will culture until the milk is slightly thickened and has a pleasant aroma. This generally takes 12-24 hours, but in warmer temperatures, it can happen much faster, so I always advise keeping a close eye on your grains after about 12 hours.
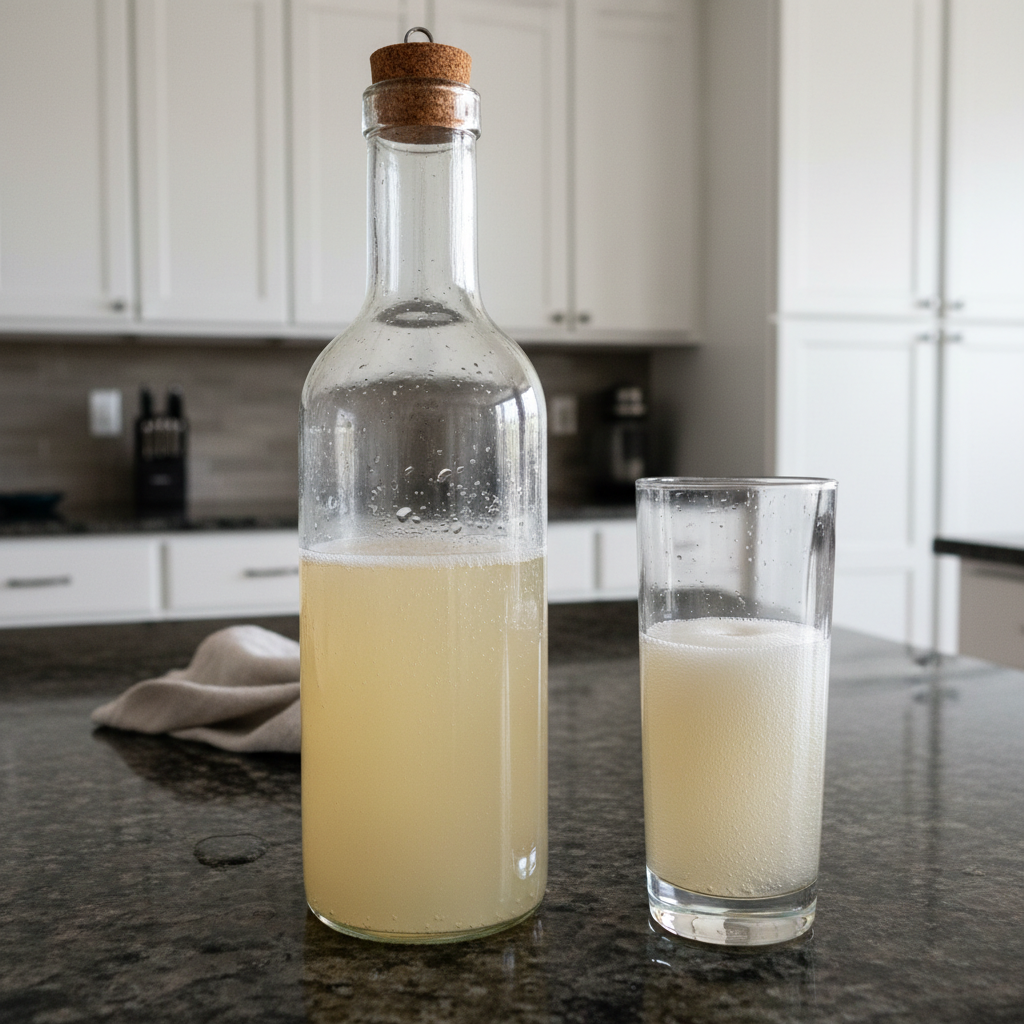
When it’s ready, the milk should have a slight viscosity, coating a spoon. The aroma should be fresh, yeasty, and pleasantly sour—think of a mild yogurt or sourdough starter. Avoid any strong cheesy, overly sour, or unpleasant smells, which can indicate over-fermentation or contamination.
Separate the Grains
Once the milk has changed texture and the culturing is complete, it’s time to separate the Kefir Grains from the finished Milk Kefir. I use a Fine Mesh Strainer, always non-metal, and a Silicone Spatula or a Plastic Spoon. Pour the finished milk kefir into a shallow bowl to more easily spot and remove grains. A gentle swirling motion with your spatula helps the thicker kefir pass through the strainer.
Re-culture Your Grains
Immediately place your active Milk Kefir Grains into a new batch of fresh milk to continue the brewing cycle. This keeps your grains healthy and happy, ensuring a continuous supply of homemade kefir.
The Unique Twist: Second Fermentation for Flavor & Fizz
Now, this is where we take our homemade kefir to the next level! Immediately after straining, gently transfer your finished Milk Kefir into an airtight container. Flip-top bottles or canning jars with tight-fitting lids work perfectly.
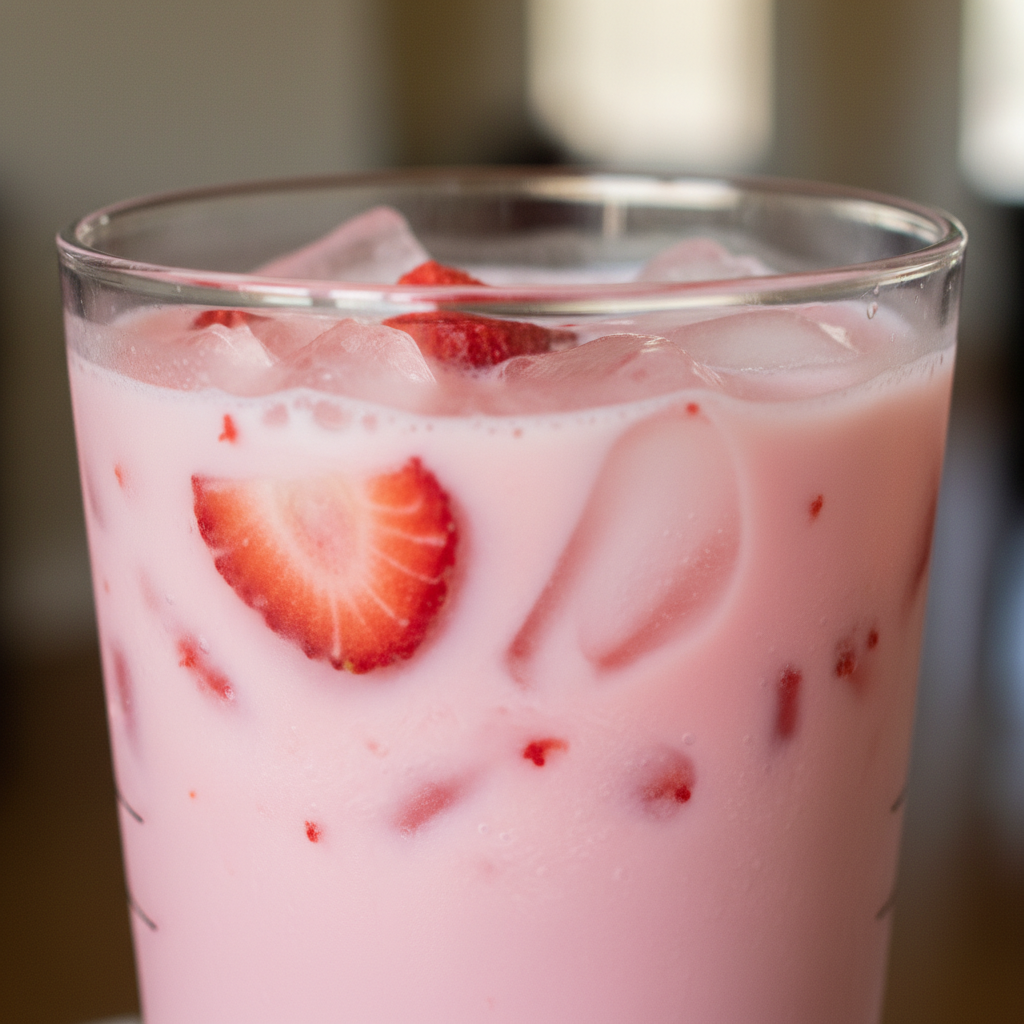
Add your desired flavorings: I love adding 1 teaspoon of natural sweetener (like honey or maple syrup) per cup of kefir, or fresh fruit such as sliced berries, citrus peel, a few slices of ginger, or even a vanilla bean. Seal the container and let it ferment at room temperature for an additional 6-24 hours. This Second Fermentation further consumes Lactose, develops deeper flavors, and encourages natural carbonation. If you’re using very airtight containers, I recommend “burping” them every few hours to release pressure and prevent overflow. Once it’s flavored and fizzy to your liking, refrigerate immediately to halt the fermentation process.
Mastering Your Milk Kefir: Ratios, Timing & Equipment
Achieving consistently perfect Milk Kefir is all about understanding a few key principles. It’s a bit like learning to bake bread – once you grasp the basics, you can adapt to anything!
Optimal Milk-to-Grain Ratios for Consistent Fermentation
My go-to recommendation for Milk Kefir Grains to milk is typically 1-2 teaspoons of grains per 1-4 cups of milk for a 24-hour fermentation cycle. This gives you a good starting point. If you want a thicker, tangier kefir, you can use a slightly higher grain-to-milk ratio, which will also speed up fermentation. For a milder, thinner kefir, use fewer grains or more milk, which will slow the process.
Adjusting Fermentation Time for Desired Thickness & Tanginess
Fermentation time is incredibly flexible and influenced by several factors: your room Temperature Control, the type of milk you use, and the activity level of your grains. Cooler temperatures slow down the Culturing Time, while warmer temperatures accelerate it. For a thinner, milder kefir, ferment for less time (closer to 12-18 hours). If you prefer a thicker, tangier result, let it go for 24 hours or slightly longer. Remember those visual cues: ‘slightly thickened’ and a ‘pleasant aroma’ are your best indicators of readiness.
Making Smaller or Larger Batches
Scaling your kefir production is straightforward. The core principle of maintaining the correct grain-to-milk ratio and optimal temperature remains the same. If you want a smaller batch, simply reduce both the grains and the milk proportionally. For example, 1/2 teaspoon of grains for 1 cup of milk. For larger batches, increase proportionally. My general rule is to start with a ratio you’re comfortable with and adjust by about 10-20% at a time until you find your perfect balance.
Essential Equipment and Hygiene
You don’t need much to get started, but the right equipment and cleanliness are crucial. Here’s my list:
- A Glass Jar (quart or half-gallon size is ideal)
- A Fine Mesh Strainer (plastic or non-reactive stainless steel)
- A Non-metal Utensil (Silicone Spatula or Plastic Spoon)
- A Breathable Cover (Coffee Filter or Butter Muslin)
- A Rubber Band or Canning Jarring to secure the cover
When cleaning your equipment, always use warm, non-chlorinated water. Avoid harsh antibacterial soaps, as their residues can harm your delicate Kefir Grains. A good rinse with plain hot water is often all you need, or a mild, unscented dish soap followed by a very thorough rinse.
Estimated Yield & Basic Nutrition
From 1-2 teaspoons of grains, you can typically yield 1-4 cups of delicious Milk Kefir per batch, depending on the starting volume of milk. Homemade milk kefir is a fantastic source of Probiotic, and also provides protein, calcium, and B vitamins. It’s a wonderful way to support your Gut Health and overall Digestive Health.
Pro Tips & Troubleshooting
Even seasoned kefir makers run into questions sometimes. Here are my best tips and solutions to common issues to keep your kefir journey smooth.
Pro Tips
- Grain Activation: If you’re starting with dehydrated grains, always use pasteurized milk for their initial activation. Once they’re robust, you can slowly transition to raw milk if desired.
- Clean Hands: When you need to handle your Kefir Grains directly, ensure your hands are very clean and well-rinsed. Avoid using anti-bacterial soap, as residues can harm the live cultures.
- Straining Technique: For thick kefir, a Silicone Spatula or Plastic Spoon used in a swirling motion will help push the finished kefir through a Fine Mesh Strainer more easily. Non-reactive stainless steel is generally acceptable for strainers.
- Grain Separation: To make sure you catch all your grains, I often pour the finished Milk Kefir into a shallow bowl. It makes spotting and carefully removing the grains much easier.
- Consistent Culturing: Allow your grains to culture regularly for 3 to 4 weeks before attempting short-term refrigeration or long-term drying for storage. This ensures they are strong and healthy, ready for any breaks you need to take.
- Temperature Control: Maintaining the ideal Temperature Control (68°-85°F) is crucial for consistent and predictable Fermentation.
- Second Fermentation Experimentation: Don’t be shy about experimenting with different fruits and natural sweeteners during the Second Fermentation. It’s how you discover your favorite flavor combinations and achieve optimal effervescence!
Common Mistakes to Avoid
- Anti-Bacterial Soap: Using anti-bacterial soap when handling or cleaning anything that comes into contact with your Kefir Grains is a big no-no. It can kill the beneficial bacteria the grains rely on.
- Reactive Metals: Avoid using reactive metal utensils (like aluminum or copper) as they can harm kefir grains. Stick to glass, food-grade plastic, silicone, or non-reactive stainless steel.
- Over-Culturing: Letting your kefir ferment for too long can result in a very thick, curdled texture, making it difficult to strain. Signs of over-cultured kefir include clear whey separation at the bottom, a very lumpy texture, and an intensely sour smell.
- Neglecting Grains: Kefir Grains are living organisms that need to be fed regularly. Not re-culturing them can lead to inactivity. If your grains seem sluggish, try a smaller batch of milk or refresh them in a fresh batch of milk in a slightly warmer spot.
- Watery Kefir: If your kefir consistently turns out watery, it could be due to too much milk for the number of grains, the temperature being too cold, or inactive grains. Try adjusting your grain-to-milk ratio, moving to a warmer spot, or revitalizing your grains.
- Mold: If you ever spot fuzzy, colored spots (anything other than creamy white curds and Whey), that’s mold. It’s crucial to discard everything—the kefir, the grains, and the equipment—and start fresh to avoid contamination.
Serving & Storage
Once you’ve got your delicious homemade Milk Kefir, the fun really begins!
Serving Ideas
- Drink It Plain: My favorite way to enjoy it is often simply plain! The refreshing, tangy taste, especially after a Second Fermentation, is incredibly satisfying.
- Smoothie Boost: Blend your kefir into smoothies with your favorite fruits, greens, and other superfoods. The flavored kefir from the second fermentation adds an extra layer of deliciousness.
- Culinary Uses: Don’t limit kefir to just drinks! I love using it in homemade ice cream for a tangy twist, incorporating it into baked goods like pancakes, muffins, or quick breads for added moisture and a slight tang, or as a base for creamy salad dressings and dips.
- Kefir Cheese: If you accidentally over-culture your kefir, don’t despair! You can easily transform it into a creamy Kefir Cheese. Simply strain it through cheesecloth for several hours (or overnight) to drain the Whey, leaving you with a spreadable, tangy cheese.
Storage and Make-Ahead
Knowing how to properly store both your finished kefir and your grains ensures you always have a fresh supply.
Storing Finished Kefir: After its Second Fermentation, finished kefir should be stored in an airtight container in the refrigerator. It will generally keep its best quality for 1-2 weeks, though it can last longer. The cold temperature significantly slows down any further fermentation.
Storing Milk Kefir Grains for Breaks: I often get asked, “How do I store Milk Kefir Grains for short and long breaks?”
- Short Breaks (up to 1-2 weeks): Simply place your grains in fresh milk (about 1-2 cups per tablespoon of grains) in a sealed jar and store them in the refrigerator. The cold slows their activity considerably, allowing you to take a break from daily brewing. They’ll be sluggish when you take them out, but a fresh batch of milk at room temperature will revive them.
- Long Breaks (weeks to months): For longer absences, you have a couple of options. You can continue to store them in milk in the refrigerator, changing the milk weekly to keep them healthy. Alternatively, you can dry the grains. To do this, gently rinse them with non-chlorinated water, pat them dry with a paper towel, and spread them on parchment paper to air dry completely. Once fully dry, they can be stored in an airtight container in the refrigerator for several months. Reactivating dried grains takes a bit more time and patience but is certainly achievable.
Conclusion
Diving into the world of homemade Milk Kefir is a truly rewarding experience. Not only will you be nurturing your Gut Health with a daily dose of diverse Probiotic, but you’ll also be enjoying a delicious, customizable beverage that far surpasses anything you can buy in stores. My unique twist of a Second Fermentation is what truly transforms good kefir into gourmet, delivering superior flavor, reduced tartness, and that delightful natural fizz.
I hope this guide reassures you that mastering homemade kefir is entirely achievable, even for beginners. Don’t be afraid to experiment with different flavorings for your second fermentation – the possibilities are endless! Share your kefir journey with me, or explore related recipes like Dairy-free Kefir variations or how to make Kefir Cheese from over-fermented batches. Happy culturing!
FAQ
What is Milk Kefir?
Milk Kefir is a fermented dairy product, similar to drinkable yogurt, made by culturing milk with Kefir Grains. It’s teeming with beneficial Probiotic cultures, giving it a creamy texture and a distinctive tangy taste.
What is the ideal temperature range for culturing milk kefir?
The ideal Temperature Control range for culturing Milk Kefir is between 68°-85°F (20°-30°C). This temperature range ensures optimal activity for your Kefir Grains and consistent Culturing Time.
How can I tell when my milk kefir is properly fermented?
You’ll know your Milk Kefir is ready when it’s ‘slightly thickened’ and has a ‘pleasant aroma.’ Visually, it should have a creamy consistency, coating a spoon, and you might see some minor separation of curds and Whey. The smell should be fresh, yeasty, and mildly sour—not unpleasantly strong or cheesy.
What should I do if my milk kefir becomes too thick or curdled?
If your Milk Kefir is too thick or curdled, it’s likely over-fermented. To remedy this, try reducing your Fermentation time, decreasing the grain-to-milk ratio in your next batch, or slightly lowering your room temperature. Over-fermented kefir can also be used to make delicious Kefir Cheese by straining the Whey.
How do I store milk kefir grains for short and long breaks?
For short breaks (up to a week), store your Milk Kefir Grains in fresh milk in the refrigerator. For longer breaks, you can change the milk weekly in the fridge, or dry the grains completely and store them in an airtight container at room temperature or in the refrigerator. Dried grains will need to be reactivated slowly.
Can I use non-dairy milks like coconut or almond to make kefir?
Yes, Dairy-free Kefir can be made with non-dairy milks such as Coconut Milk or Almond Milk. However, it’s often best to use specific non-dairy kefir grains, or be aware that dairy grains might need periodic re-invigoration in dairy milk to maintain their vitality.
What equipment do I need for making milk kefir?
You’ll need a Glass Jar for culturing, a Fine Mesh Strainer (non-metal is preferred), a Non-metal Utensil (like a plastic or silicone spoon/spatula), and a Breathable Cover such as a Coffee Filter or Butter Muslin secured with a Rubber Band.
What are the benefits of milk kefir?
Milk Kefir is celebrated for being rich in Probiotic, which are fantastic for Gut Health and overall Digestive Health. It’s also a good source of vitamins and minerals, offers immune support, and can potentially improve Lactose digestion for some individuals due to its fermented nature.
Homemade Milk Kefir: Easy Guide + Flavorful Second Fermentation
Ingredients
Equipment
Method
- Ensure all equipment is sparkling clean, using a clean glass jar. Transfer active Milk Kefir Grains into up to 4 cups of fresh milk.
- When handling grains and stirring, always use a non-metal utensil (such as a silicone spatula or plastic spoon) to avoid harming delicate cultures.
- Aim for a ratio of 1-2 teaspoons of grains per 2-4 cups of milk for consistent fermentation.
- Cover your jar with a coffee filter or butter muslin, securing it tightly with a rubber band or canning jar ring. This breathable cover allows air circulation and prevents contaminants.
- Place your milk kefir culture in a warm spot, ideally between 68°-85°F (20°-30°C), to culture. This generally takes 12-24 hours, but keep a close eye after about 12 hours, especially in warmer temperatures.
- When ready, the milk should be slightly thickened, coating a spoon, and have a fresh, yeasty, pleasantly sour aroma (like mild yogurt). Avoid strong cheesy or unpleasant smells.
- Once culturing is complete, separate the Kefir Grains from the finished Milk Kefir. Use a fine mesh strainer (non-metal) and a silicone spatula or plastic spoon.
- Pour the finished milk kefir into a shallow bowl to more easily spot and remove grains. A gentle swirling motion helps the thicker kefir pass through the strainer.
- Immediately place your active Milk Kefir Grains into a new batch of fresh milk to continue the brewing cycle, keeping them healthy and ensuring a continuous supply.
- Immediately after straining, gently transfer your finished Milk Kefir into an airtight container (e.g., flip-top bottles or canning jars with tight-fitting lids).
- Add desired flavorings: 1 teaspoon of natural sweetener (like honey or maple syrup) per cup of kefir, or fresh fruit (sliced berries, citrus peel, ginger, or a vanilla bean).
- Seal the container and let it ferment at room temperature for an additional 6-24 hours. This develops deeper flavors and encourages natural carbonation.
- If using very airtight containers, "burp" them every few hours to release pressure. Once flavored and fizzy to your liking, refrigerate immediately to halt the fermentation process.