 Skip to content
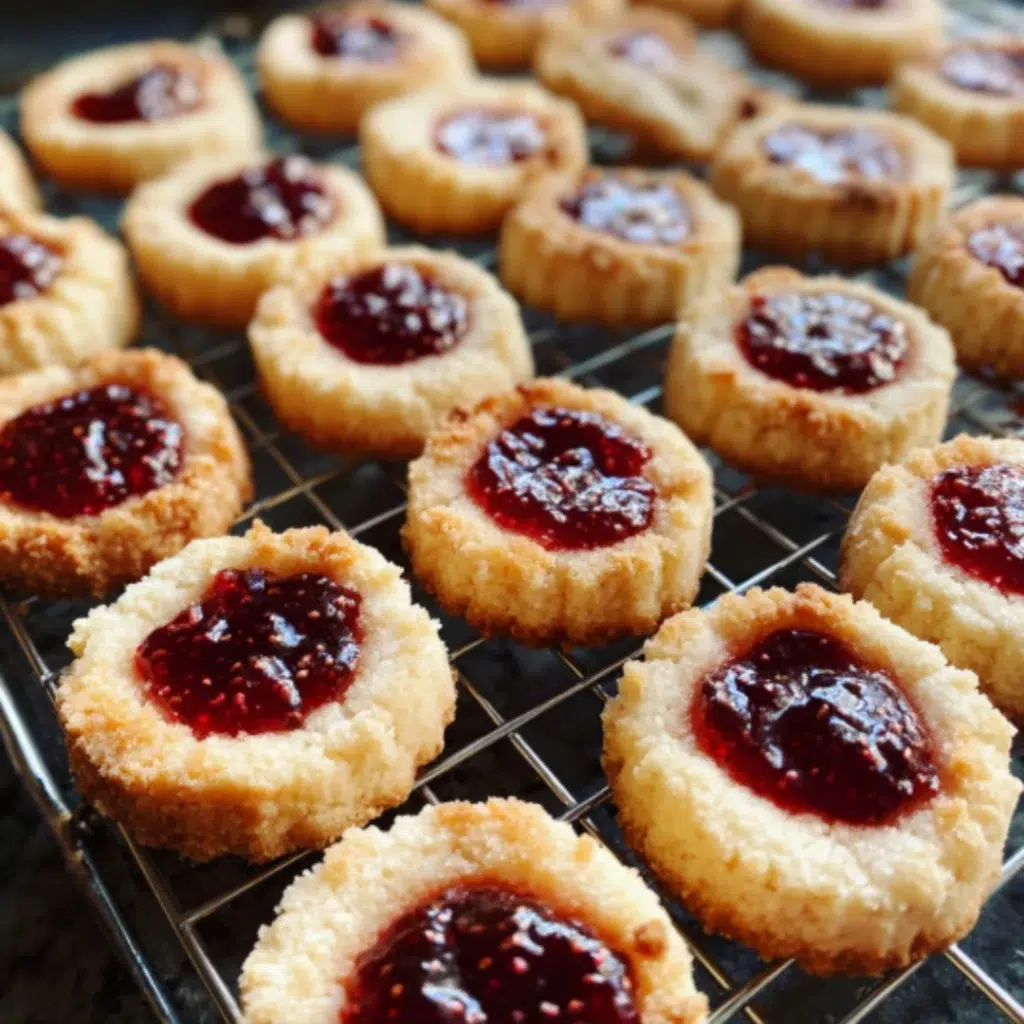
Delight your family and friends this season with classic Christmas Thumbprint Cookies. These festive treats are a staple for any holiday platter, bringing cheer with their buttery texture and vibrant, jammy centers. This guide makes baking these irresistible cookies incredibly simple, ensuring a delightful experience for even the most beginner bakers. You’ll find easy, step-by-step instructions and helpful tips to create perfect holiday cookies everyone will adore.
Why You’ll Love These Christmas Thumbprint Cookies
These delightful Christmas Thumbprint Cookies are truly a joy to bake and share, making them a holiday favorite.
- Simple Preparation: The recipe is straightforward, perfect for beginners and busy parents seeking quick, easy holiday baking.
- Melt-in-Your-Mouth Texture: Each cookie boasts a tender, buttery crumb that truly melts in your mouth with every bite.
- Customizable Flavors: Easily switch up the jam filling to create a variety of flavors, catering to everyone’s preferences.
- Perfect for Holiday Platters: Their vibrant colors and classic charm make them a beautiful and essential addition to any festive dessert spread.
- Nostalgic & Comforting: These cookies evoke warm childhood memories, bringing a comforting, traditional touch to your holiday celebrations.
Ingredients
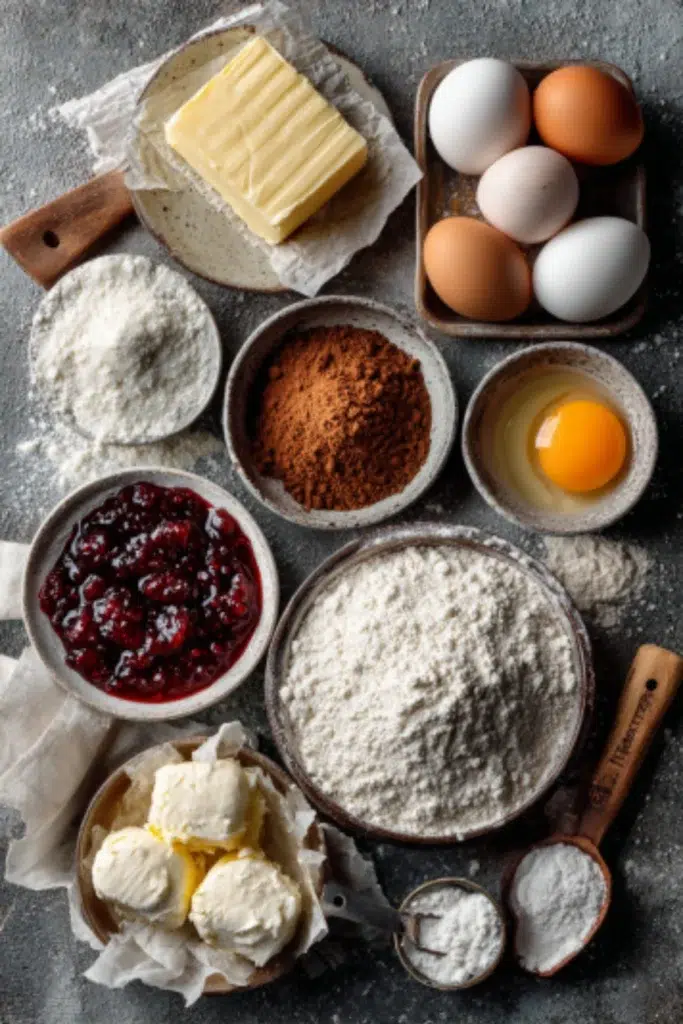
Gather these simple ingredients to create your beautiful Christmas Thumbprint Cookies:
- Wet Ingredients:
- 1/2 cup (1 stick) unsalted butter, softened to room temperature
- 1/4 cup packed light brown sugar
- 1 large egg yolk
- 1/2 teaspoon pure vanilla extract
- Dry Ingredients:
- 1 cup all-purpose flour
- 1/4 teaspoon fine sea salt
- Filling:
- 1/4 cup raspberry jam (or your favorite fruit jam)
Notes & Substitutions
Room Temperature Butter: Always ensure your butter is properly softened. This is key for creaming it with sugar, creating an airy, light dough and preventing dense cookies. Softened butter should yield slightly when pressed.
Sugar Alternatives: While brown sugar adds a lovely chew and depth of flavor, you can substitute with granulated sugar for a crisper cookie or powdered sugar for an even softer texture. Adjust sweetness to your liking.
Jam Choices: Raspberry jam is a classic for these Christmas Thumbprint Cookies, but feel free to experiment! Apricot, strawberry, blackberry, or even a citrus marmalade all make fantastic fillings. Look for good quality jams without excessive liquid.
Gluten-Free Option: For a gluten-free version, swap the all-purpose flour for a 1:1 gluten-free baking flour blend. Make sure your blend contains xanthan gum for best results, ensuring the cookies hold their shape well.
Egg Yolk vs. Whole Egg: Using just the egg yolk contributes to a richer, more tender cookie with less spreading. If you only have whole eggs, you can use one small whole egg, but the texture might be slightly different. Separate the yolk carefully to achieve the desired melt-in-your-mouth crumb.
Equipment
You’ll need just a few basic tools to make these delightful cookies:
- Stand mixer with paddle attachment or a hand mixer
- Large mixing bowls
- Measuring cups and spoons
- Baking sheets
- Parchment paper or silicone baking mats
- Wire cooling rack
Instructions
Follow these easy steps to bake perfect Christmas Thumbprint Cookies:
- Step 1: Preheat Oven and Prepare Baking Sheet. Preheat your oven to 330°F (175°C). Line a large baking sheet with parchment paper or a silicone baking mat. This prevents sticking and ensures easy cleanup.
- Step 2: Cream Butter and Brown Sugar. In the bowl of a stand mixer fitted with the paddle attachment, or using a hand mixer, cream together the softened unsalted butter and packed brown sugar. Beat on medium speed until the mixture is light, fluffy, and pale, scraping down the sides of the bowl as needed. This usually takes 2-3 minutes.
- Step 3: Beat in Egg Yolk and Vanilla Extract. Add the egg yolk and vanilla extract to the creamed butter and sugar mixture. Beat on medium speed until fully combined and smooth. Do not overmix at this stage; just combine until incorporated.
- Step 4: Whisk Together Flour and Salt. In a separate medium-sized bowl, whisk together the all-purpose flour and fine sea salt. Whisking ensures these dry ingredients are evenly distributed, leading to uniform texture.
- Step 5: Gradually Add Dry to Wet Ingredients. Gradually add the dry flour mixture to the wet butter mixture, about a third at a time. Mix on low speed until just combined. Stop mixing as soon as no streaks of flour remain to avoid overworking the dough. Research on cookie science indicates that overworking dough can develop gluten, leading to tougher cookies. For a tender crumb, it’s essential to mix until just combined.
- Step 6: Roll Dough into 1-Inch Balls. Scoop out portions of the dough and roll them between your palms to form 1-inch (2.5 cm) balls. Aim for uniform size for even baking.
- Step 7: Place Balls on Prepared Baking Sheet. Arrange the dough balls on your prepared baking sheet, leaving about 2 inches of space between each. They will spread slightly during baking.
- Step 8: Bake Cookies for Initial 5 Minutes. Place the baking sheet in the preheated oven and bake for an initial 5 minutes. This brief bake sets the cookie dough slightly, making it easier to create neat indentations without the dough cracking excessively.
- Step 9: Remove, Create Thumb Indentations. Carefully remove the baking sheet from the oven. Using your thumb or the back of a rounded teaspoon, gently press an indentation into the center of each partially baked cookie. If the edges crack, gently push them back into place.
- Step 10: Fill Indents with Raspberry Jam. Using a small spoon or a piping bag, fill each indentation with about 1/4 to 1/2 teaspoon of raspberry jam. Be careful not to overfill, as the jam can bubble over.
- Step 11: Return to Oven and Bake Until Golden. Return the baking sheet to the oven and continue baking for another 12-15 minutes. The Christmas Thumbprint Cookies are ready when their edges are lightly golden brown and the jam is set and slightly bubbly.
- Step 12: Cool on Wire Rack Completely. Remove the cookies from the oven and let them cool on the baking sheet for 5 minutes before carefully transferring them to a wire rack to cool completely. The jam will set further as they cool.
Pro Tips & Troubleshooting
Mastering these Christmas Thumbprint Cookies is simple with a few extra pointers.
- Chill Dough for Easier Handling: If your kitchen is warm or the dough feels too sticky, chill it for 15-30 minutes before rolling. This makes the dough firmer and much easier to work with, preventing sticking.
- Achieve Perfect Thumbprints Evenly: Use a consistent amount of pressure when making your indentations. For perfectly round indents, the back of a 1/2 teaspoon measuring spoon works wonders and creates a neat well for the jam.
- Prevent Jam from Overflowing or Burning: Do not overfill the cookie indentations. A small amount of jam goes a long way. If the jam starts to caramelize too much, you can place a small piece of foil over the cookies for the last few minutes of baking.
- Ensure Cookies are Baked Through: Look for lightly golden edges. The centers might still feel soft when hot, but they will firm up as the cookies cool.
Common Mistakes to Avoid
- Overworking the Cookie Dough: Mixing the dough too much after adding the flour develops gluten, leading to tough, dry cookies instead of tender ones. Mix until just combined.
- Using Cold or Melted Butter: Cold butter won’t cream properly, and melted butter makes a greasy dough that spreads too much. Always use softened, room temperature butter.
- Skipping the Initial Bake Step: This crucial step sets the dough, creating a stable well for the jam. Skipping it can lead to misshapen cookies or jam sinking to the bottom.
- Overfilling Jam Indents: Too much jam will bubble over during baking, creating a sticky mess and potentially burning. A small, neat dollop is all you need.
Serving, Storage & Variations
These delightful Christmas Thumbprint Cookies are perfect served fresh! Enjoy them warm from the oven or at room temperature for the best flavor and texture. They pair wonderfully with a warm cup of coffee, tea, or a cold glass of milk, especially during the festive season.
Storage Instructions
Store your baked Christmas Thumbprint Cookies in an airtight container at room temperature for up to 5-7 days. Place parchment paper between layers to prevent sticking. If you need to store them longer, they can be refrigerated for up to 2 weeks, though the texture might firm up slightly.
Freezing Tips
Freezing Baked Cookies: You can freeze baked thumbprint cookies for up to 2-3 months. Arrange cooled cookies in a single layer on a baking sheet and freeze until solid. Then transfer them to an airtight freezer-safe container or bag, separating layers with parchment paper. Thaw at room temperature before serving.
Freezing Raw Dough Balls: For easy make-ahead options, roll the dough into balls, then freeze them solid on a baking sheet. Transfer frozen dough balls to a freezer bag. When ready to bake, place them on a prepared baking sheet, make the indentations, fill with jam, and bake from frozen, adding a few extra minutes to the baking time.
Flavor Variations
- Different Fruit Jams: Explore other fruit jams like apricot, strawberry, blueberry, or even fig for unique flavor profiles.
- Chocolate Fillings: Instead of jam, try chocolate fillings like a dollop of Nutella, a mini chocolate ganache swirl, or melted white chocolate for a richer treat.
- Nutty Coatings: Before making the thumbprint, roll the dough balls in finely chopped nuts like pecans, walnuts, or almonds for added crunch and flavor.
- Citrus Zest Additions: Add 1-2 teaspoons of lemon or orange zest to the cookie dough along with the vanilla extract for a bright, aromatic twist.
Nutrition
Please note that these nutrition facts are approximate and will vary based on specific ingredients, portion sizes, and preparation methods. This information is intended as a general guideline.
| Nutrition Fact | Approximate per cookie |
|---|---|
| Calories | 80-100 |
| Total Fat | 4-6g |
| Saturated Fat | 2-3g |
| Cholesterol | 15-20mg |
| Sodium | 25-35mg |
| Total Carbohydrates | 10-14g |
| Dietary Fiber | 0-1g |
| Total Sugars | 6-8g |
| Protein | 1-2g |
Common Allergens: This recipe contains dairy (butter), eggs, and wheat (flour). If using nut coatings or certain jams, it may also contain nuts. Always check your ingredient labels if you have severe allergies.
Frequently Asked Questions
Q: Can I use different types of jam for these cookies?
A: Absolutely! Raspberry is a classic, but feel free to experiment with any fruit jam you love, such as apricot, strawberry, or blueberry. Just ensure the jam isn’t too runny.
Q: Why did my cookies spread too much during baking?
A: Cookies usually spread from using butter that is too warm, over-creaming the butter and sugar, or not having enough flour in the dough. Ensure your butter is just room temperature and measure ingredients precisely.
Q: Can I make these Christmas Thumbprint Cookies ahead of time?
A: Yes, you can! You can prepare the dough and refrigerate it for up to 2 days, or freeze the rolled dough balls for up to 2 months. You can also bake the cookies entirely and freeze them.
Q: How do I prevent the jam from sinking or burning in the indentations?
A: To prevent sinking, bake the cookies for an initial 5 minutes before adding the jam. To avoid burning, do not overfill the indentations; use just 1/4 to 1/2 teaspoon of jam.
Q: Are these cookies vegan or gluten-free?
A: This specific recipe is not vegan or gluten-free as written. For a gluten-free version, use a 1:1 gluten-free flour blend. For a vegan version, you would need to replace the butter with a plant-based alternative and the egg yolk with a suitable egg substitute.
Conclusion
Baking these Christmas Thumbprint Cookies is a wonderful way to bring festive cheer and delicious aromas into your home this holiday season. Their simple charm, tender crumb, and sweet jammy centers make them an irresistible treat that both beginners and seasoned bakers can master. They are truly the perfect addition to any holiday cookie swap or family gathering. We encourage you to try this easy recipe and create your own batch of delightful holiday memories. We’d love to see your festive creations!


