
Ingredients
Equipment
Method
Prepare for Baking
- Preheat your oven to 350ºF. Line an 8-inch square baking pan with foil, ensuring the ends extend over the sides of the pan for easy removal later. Give it a light spray with non-stick spray and set it aside.
Craft the Brown Butter Nilla Wafer Crust
- In a medium bowl, combine the finely crushed Nilla Wafer crumbs, ½ cup flour, and the firmly packed brown sugar. Chop your cold butter into small pieces. Use a pastry blender to cut the butter into the crumb mixture until it resembles coarse crumbs. Press the crumb mixture firmly and evenly onto the bottom of your prepared pan. Bake this fragrant crust for 15 minutes, allowing those nutty brown butter notes to develop beautifully.
Whip Up the Silky Lemon Filling
- While the crust is baking, prepare the luscious filling. In a large mixing bowl, beat the room temperature cream cheese and granulated sugar with an electric mixer on medium speed until they are wonderfully smooth and well blended. Add the eggs (also at room temperature), vanilla extract, 2 tablespoons of flour, and the baking powder. Mix well until everything is thoroughly incorporated. Finally, blend in 1 tablespoon of fresh lemon zest and the fresh lemon juice, pouring the vibrant mixture over your warm, pre-baked crust.
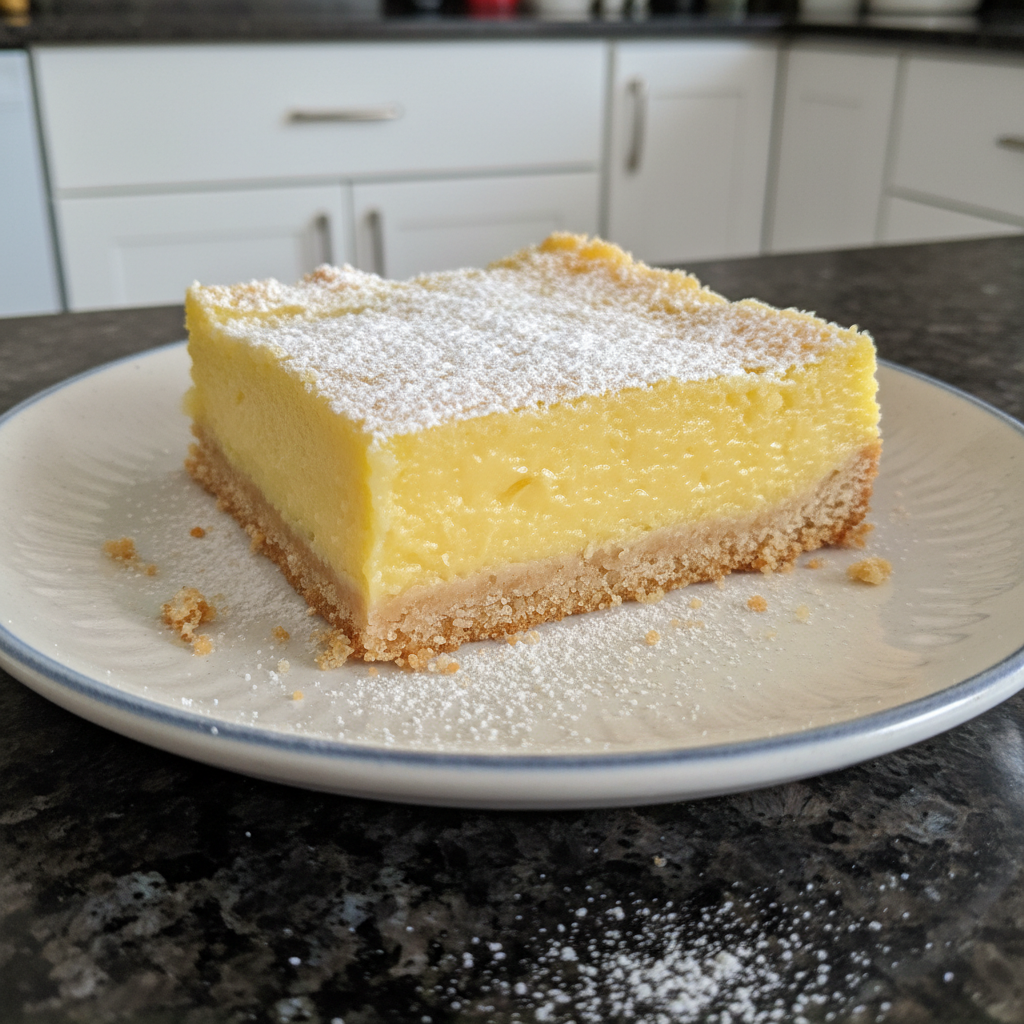
Bake and Chill to Perfection
- Carefully transfer the pan back to the oven. Bake for 25 to 30 minutes, or until the center is just set with a slight jiggle. Once baked, remove the pan from the oven and allow the bars to cool completely on a wire rack. After cooling, cover the pan and refrigerate the creamy lemon bars for at least 2 hours, but preferably overnight. Just before cutting into squares to serve, sprinkle them with powdered sugar and the remaining 2 tablespoons of grated lemon peel for a beautiful, aromatic finish.
Nutrition
Notes
For best results, use room temperature eggs and cream cheese. Ensure bars are thoroughly chilled, preferably overnight, for optimal setting and flavor development. Dust with powdered sugar and lemon peel just before serving to prevent melting. Use a warm, sharp knife for clean cuts. Nutrition information is estimated based on common ingredients and serving sizes and may vary.