
Ingredients
Equipment
Method
Prepare the Pan
- Line an 8x4-inch loaf pan with plastic wrap, ensuring it extends over the sides for easy removal and a clean presentation.
Craft the Raspberry Syrup (and Coulis Base)
- In a medium saucepan, combine ¼ cup of sugar with ½ cup of water and 2 cups of raspberries over medium heat. Stir continuously until the sugar is fully dissolved.
- Once dissolved, immediately remove the pan from the heat. Gently press down on the raspberries with the back of a spoon to release their juices, creating a vibrant red liquid.
- Stir in the 1 teaspoon of lemon zest. This mixture forms the base for both the raspberry syrup for soaking ladyfingers and the homemade raspberry coulis.
Whip the Mascarpone Cream
- In a medium bowl, gently beat the room-temperature mascarpone cheese with a hand mixer until it is smooth and lump-free.
- Slowly stream in the 1 cup of heavy whipping cream and the remaining ¼ cup of sugar. Continue to beat on medium speed until the mixture is thickened and fluffy, forming soft peaks. Be careful not to over-beat.
Strain and Assemble Coulis
- Carefully strain the cooked raspberries from the syrupy mixture, reserving both the clear, bright red syrup and the strained berries separately.
- Take the strained berries and stir 2 tablespoons of this reserved raspberry syrup into them, along with the ¾ cup of raspberry preserves. This creates the homemade coulis layer.
Begin Layering
- Quickly dunk each ladyfinger into the prepared raspberry syrup. Saturate both sides with a quick dip, but do not oversoak them. Arrange a single layer of these moistened ladyfingers in the bottom of your prepared loaf pan, breaking some to fit snugly if needed.
Add Cream and Coulis Layers
- Spoon a generous, heaping cup of the whipped mascarpone cream over the layer of ladyfingers and spread it smoothly and evenly.
- Next, spread half of the vibrant berry preserve and coulis mixture on top of the cream layer.
- Repeat this layering process once more: add another layer of quickly soaked ladyfingers, followed by another generous spoonful of whipped mascarpone cream, and then the remaining berry preserve and coulis mixture.
Final Touches & Chill
- Finish off your raspberry tiramisu with a final layer of ladyfingers on top, along with any leftover whipped mascarpone cream. Smooth the top surface gently.
- Cover the pan tightly with plastic wrap and refrigerate for at least 6 hours, or ideally, overnight. This chilling time allows flavors to meld and the tiramisu to firm up properly.
Serve and Garnish
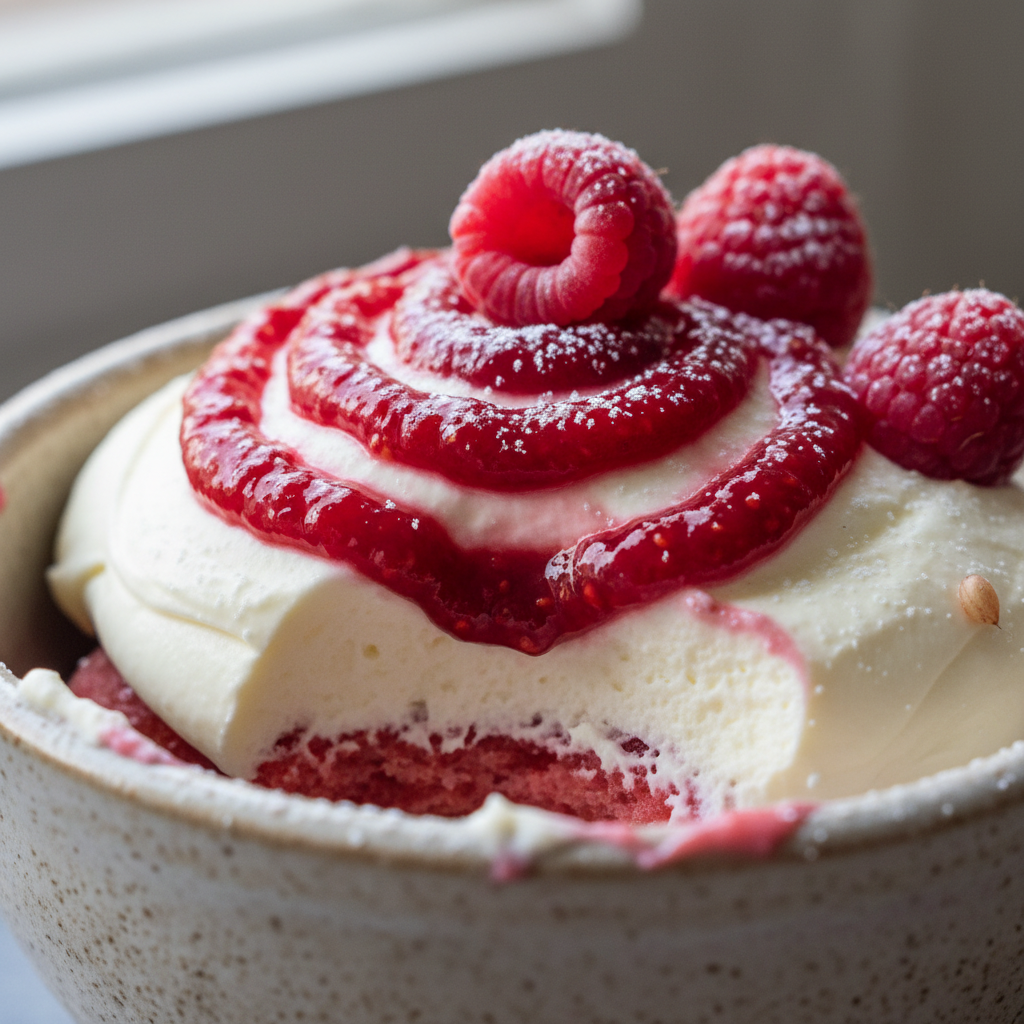
- To serve, carefully invert the chilled raspberry tiramisu onto a serving plate. Gently remove the plastic wrap.
- For an elegant finish, garnish your tiramisu with fresh raspberries and a delicate dusting of confectioner's sugar, if desired.
Nutrition
Notes
This make-ahead dessert benefits greatly from an overnight chill, allowing flavors to deepen and textures to set. Prepare 1-2 days in advance. Store leftovers tightly covered in the refrigerator for up to 3-4 days. Nutrition information is estimated based on common ingredients and serving sizes and may vary.