
Ingredients
Equipment
Method
- Prepare the crust according to the Jell-O no-bake Classic Cheesecake package directions. Press it firmly into a 9-inch springform pan that has been coated with cooking spray. Ensure an even layer.
- Next, prepare the classic cheesecake filling layer according to the package instructions. Pour this creamy mixture directly on top of your prepared crust.
- Place the pan in the refrigerator to set for about 30 minutes. This initial chill helps firm up the base.
- Meanwhile, place the blue Jell-O powder in a large bowl. Pour in 1/3 cup boiling water. Whisk vigorously until all the granules are fully dissolved, which takes about two to three minutes. Add ½ cup ice-cold water and mix until the mixture is cool to the touch.
- Gently fold in one (8 oz.) tub of Cool Whip until it is thoroughly combined and no streaks remain. Place this blue mixture bowl in the refrigerator for 30 minutes.
- After the 30 minutes, retrieve the cheesecake. Evenly spread the chilled blue mixture onto the partially set cheesecake layer for your second vibrant layer.
- Refrigerate the cheesecake again for at least 2 hours before you begin preparing the pink layer. This extended chill is crucial for solid layers.
- Next, place the red (strawberry or cherry) Jell-O powder in a separate large bowl. Pour in ½ cup boiling water. Whisk until the granules are fully dissolved. Add ½ cup ice-cold water and whisk until the mixture cools.
- Fold in another (8 oz.) tub of Cool Whip until thoroughly combined. Place this pink mixture bowl in the refrigerator for 30 minutes to firm up slightly. After 30 minutes, evenly spread the red mixture on top of the blue layer.
- Refrigerate the entire no-bake cheesecake for a minimum of 4 hours, or ideally, overnight. This long chill allows all layers to set completely.
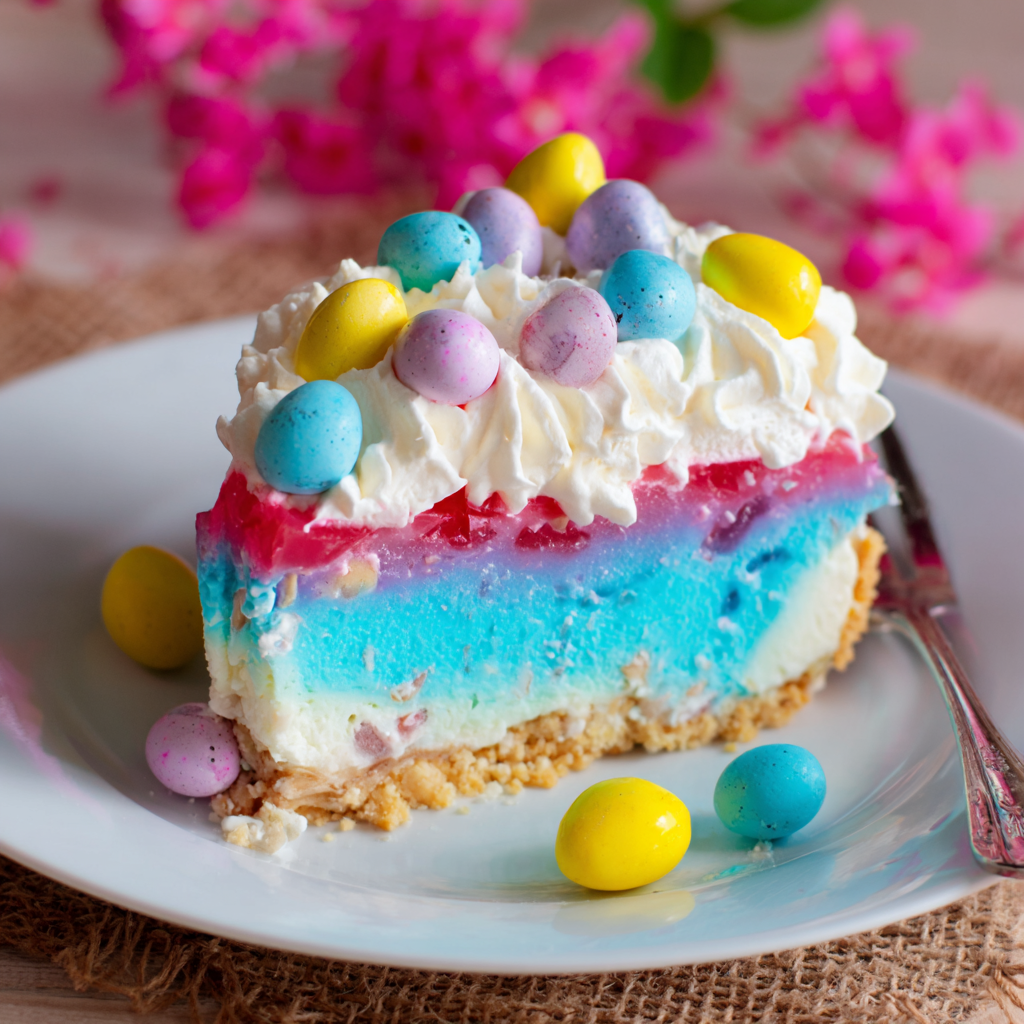
- Before serving, carefully remove the springform pan sides. Decorate the top with the remaining (8 oz.) tub of Cool Whip using a piping bag and tip, if desired. Garnish with the pastel chocolate eggs for a festive finish.
Nutrition
Notes
Ensure each Jell-O layer is fully set before adding the next to prevent bleeding and ensure firm structure. Customize with different Jell-O flavors or garnishes like fresh berries. Store covered for 3-4 days in the refrigerator; freezing is not recommended. Nutrition information is estimated based on common ingredients and serving sizes and may vary.