
Ingredients
Equipment
Method
Prepare Cake Layers
- Preheat your oven to 350°F (175°C). Generously coat three 9-inch round cake pans with nonstick cooking spray, then dust lightly with all-purpose flour, tapping out any excess.
- Prepare the white cake mix according to the package directions in a large mixing bowl. Measure the total volume of batter and divide it equally into three separate medium mixing bowls.
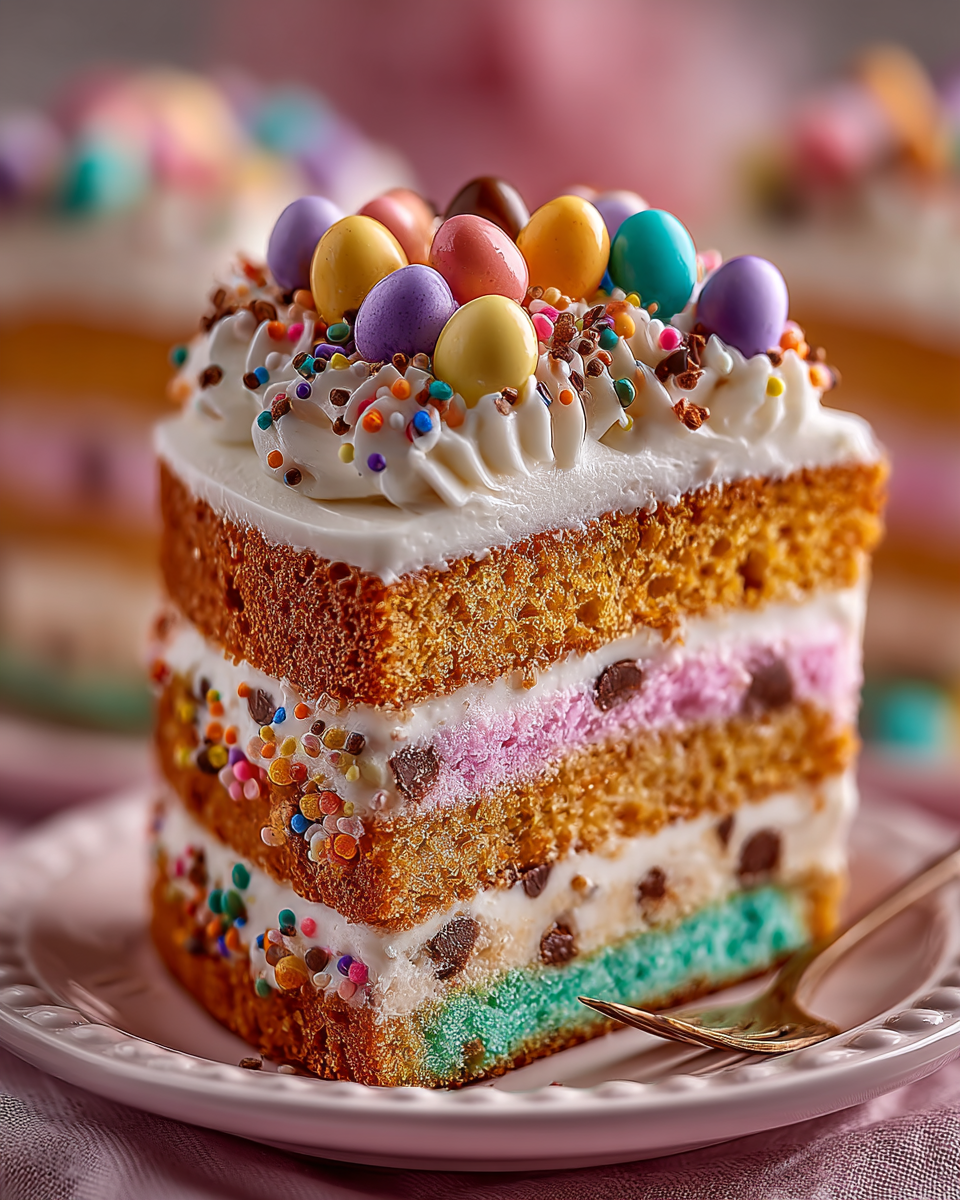
- Add a different gel food coloring to each bowl; for example, pink in one, yellow in another, and green in the third. Mix each color thoroughly with a rubber spatula until the batter is uniformly colored.
- Pour each colored batter into one of the prepared 9-inch pans, spreading it evenly across the bottom. Gently tap the pans on the counter a few times to release any trapped air bubbles.
- Bake for 8-12 minutes, or until a toothpick inserted into the center of each cake comes out clean. Allow the cakes to cool in their pans on wire racks for 10 minutes before carefully inverting them onto the racks to cool completely.
Assemble Mini Cakes
- Once the cakes are completely cool, carefully remove them from their pans. Using a 2.5-inch round cookie cutter, cut out as many circles as possible from each cake layer; you should get about 7 circles from each 9-inch layer, totaling 21 cake circles.
- Take one cake circle and place it on your desired serving plate or a clean work surface. Spread a generous, even layer of white frosting over the top of the first cake circle.
- Carefully place a second cake layer on top of the frosting. Add another layer of white frosting over the second cake. Finish by placing a third cake layer on top. Frost the top of this final layer evenly.
- Repeat this process for all 7 sets of mini cakes, creating three-layered individual treats.
Decorate & Finish
- Once all your mini Easter layer cakes are assembled, smooth any excess frosting from the sides using an offset spatula or a butter knife. For a clean finish, you can also gently run the spatula around the sides.
- Finally, arrange two or three candy-coated chocolate eggs on top of the frosting of each mini cake. Gently press the eggs into the frosting to secure them in place. These mini layer cakes are ready to serve immediately, or you can store them until you're ready to enjoy their festive charm.
Nutrition
Notes
Feel free to use your favorite homemade white cake recipe instead of a mix, ensuring it yields enough for two 9-inch layers. Always opt for gel food coloring for the most vibrant hues, as liquid coloring can dilute your batter. For frosting, stable choices like cream cheese or buttercream are excellent, or you can make your own. If candy eggs are unavailable, mini chocolate candies, colorful sprinkles, or small sugar flowers make great alternatives. To achieve even cake layers, avoid overfilling pans and ensure cakes are fully cooled before cutting for neat circles. Wipe your spatula frequently for smooth frosting. If layers are slightly uneven, you can gently level them with a serrated knife. Store leftover mini cakes in an airtight container at room temperature for up to 2 days, or in the refrigerator for up to 3 days. They are best enjoyed fresh but taste great chilled and brought back to room temperature. Get creative with variations! Color your frosting to match or contrast cake layers. Sprinkle shredded coconut for a 'nest effect' or use a grass piping tip with green frosting. Other toppings include mini chocolates, sprinkles, or marshmallow Peeps. You can also make two-layer mini cakes for a slightly smaller treat. Nutrition information is estimated based on common ingredients and serving sizes and may vary.